Back
This article is written to give a basic understanding of astrophotography image acquisiton to those who have no previous knowledge on daytime photography or astronomy. If you already have a basic understanding of these subjects, you will probably not find this article useful.
Written by Jackson Datkuliak, last updated 11/23/2024
The "Basics" Of Astrophotography: Image Acquisition
Daytime Photography vs. Astrophotography
Astrophotography and daytime photography are not as dissimilar as many people believe. At it’s core, the only thing that differentiates astrophotography from normal daytime photography is the exposure time of the photographs we take. Exposure time just means how long the camera is capturing light. Most daytime photos have exposure times in the fractions of a second, which makes taking photos on your smartphone easy and convenient. If you have ever taken a photo with night mode on your phone, you have taken a photo that has a exposure time anywhere from a couple of seconds to tens of seconds (depending on the phone). Astrophotography takes this to the extreme, where we will have photos with exposure times anywhere from tens of minutes to hundreds of hours! Obviously, with such longer exposure times, the process of capturing all of that light becomes increasingly more complex.
Exposure Time
I mentioned above that most astrophotos have exposure times that are in the hours, but how do we achieve that? Instead of taking a single exposure like in most daytime photos, astrophotographers take many individual subexposures and stack them into a final master image that is then processed at a later time, which I will talk about more in the image processing article. Individual subexposures can be only a few seconds if one is doing untracked astrophotography, but they can be up to tens of minutes with a higher end setup. This also allows us to capture data over multiple nights, which is how images with tens or hundreds of hours of exposure time are captured. The reason astrophotographers strive for such long exposure times is because the objects we are trying to image are incredibly dim. By gathering light for longer periods of time, we can capture more signal from the object and get a less noisy image with more visible structure after processing.
Untracked Astrophotography and Star Trackers
If you take your phone out and take a long night mode exposure of the sky and zoom into the stars, you will notice they will appear as lines instead of pinpoint sources like we would like. This is because of the rotation of the Earth. It is difficult to notice with your eyes, but the Earth’s rotation makes the sky move very quickly! It is important that stars are pinpoint because the object we are trying to photograph will be a blurry mess with no meaningful details if the object is moving while we take subexposures. For an example, try to think of when you are trying to take a photo with your phone and you don’t hold it still enough. The image will be blurred because the incoming light that hit your camera sensor didn’t come in a straight path. An astrophotographer can shoot untracked, meaning the camera just sits on a tripod and there is no mechanism to counteract the rotation of the Earth. This will limit them to taking subexposures that are only a few seconds long (the specific length depends on the focal length, or how “zoomed in” to the sky the telescope or camera lens is). For many reasons, this is suboptimal, so untracked astrophotography is really only viable for wide field milky way shots. One can get a star tracker or equatorial mount which is a special device that is aligned with the rotational axis of the Earth (Polaris, or the north star if you are in the northern hemisphere) and counteracts the Earth’s rotation. Using these devices, a telescope can be pointed at same object in space without the Earth’s rotation changing where it is pointed. This allows for substantially longer subexposures. The maximum length of the subexposures will be determined by a lot of factors, but for a general rule, as long as the stars are pinpoint and not shaped like lines, the subexposure is good to stack into a final image.
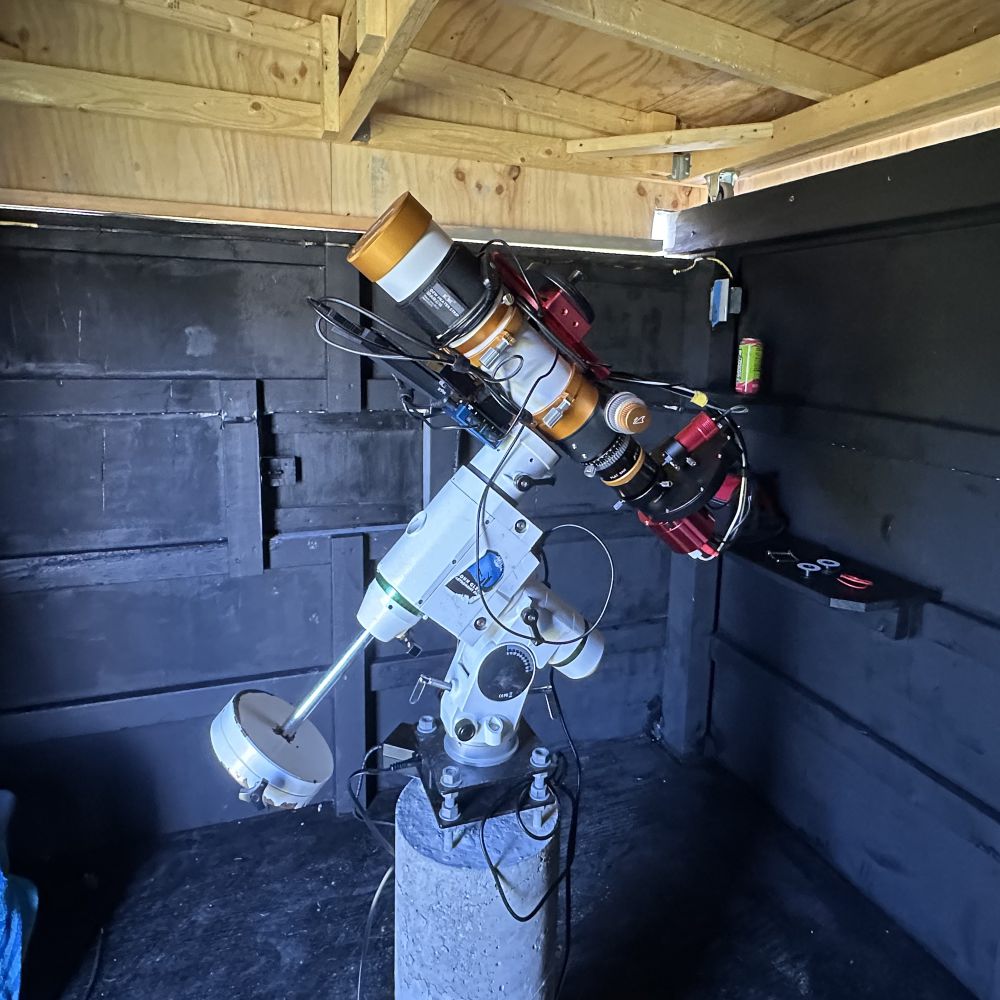
My setup when I still had a basic star tracker and my new setup in my observatory with a GoTo equatorial mount
Focusing
Unlike daytime photography, there is only one focus point with astronomical objects. This makes focusing a little simpler since you don’t have to worry about keeping multiple objects in focus, but finding perfect focus can be tricky. It is very important to nail focus or the images an astrophotographer takes will look smeared and stacking software will struggle to stack the subexposures properly. The easy but less accurate way to find focus is to look at the live view through the camera and adjust focus back and forth until the stars in the image become as small as they can be. This is relatively easy, but the best way to get into focus is by using a bahtinov mask. A bahtinov mask sits in front of the camera lens or telescope and creates a diffraction pattern of all the stars in the image. All you must do is point at a bright star, put on the mask, and align the center spike with the two other spikes created in the diffraction pattern. The physics of how a bahtinov mask bends the light into this unique shape is quite interesting, and you can find more information on why diffraction happens here. Advanced astrophotography setups will usually have an autofocuser which will automatically move the telescope in and out focus and find the perfect focus point by measuring the size of the stars the camera takes. This is almost required for very large telescopes as the focus point will shift throughout the night as the telescope's temperature changes.
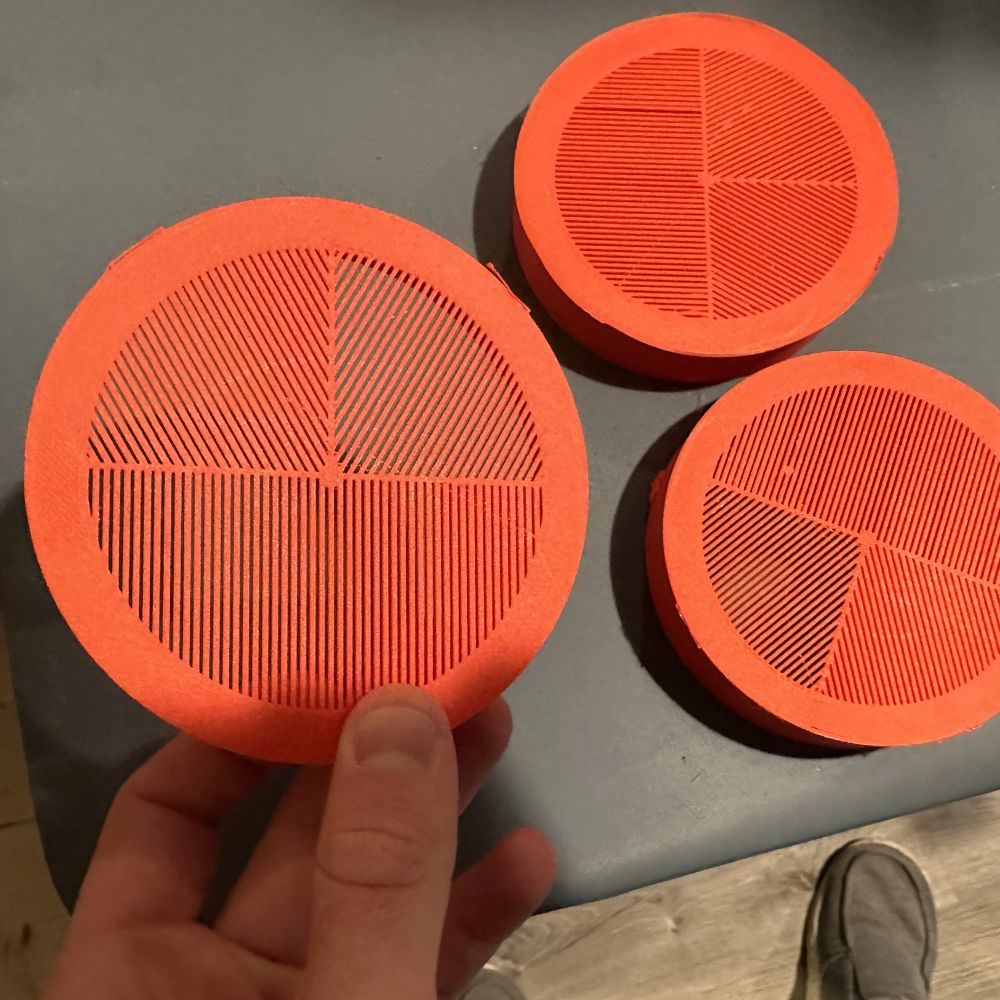

Some of the bahtinov masks I've 3D printed and an animation showing the diffraction pattern a bahtinov mask creates (source: Wikipedia)
Guiding
Another way to take longer exposures and work against the tracking inaccuracies of a mount is through guiding. Most advanced astrophotography setups have a main camera which takes long exposure photographs (the ones we stack into the final image) and a second, much smaller camera (called the guide camera) that continuously takes very short exposures for guiding. A computer program analyzes how the stars move in each exposure the guiding camera takes and sends commands to the mount to fix it’s tracking inaccuracies. The guide camera can have it’s own guide scope (shown below) or an off-axis guider (OAG) can be used to divert a small portion of the primary telescopes light cone to the guide camera. For amateur setups, guide exposures are usually a second or a few seconds long. This means that corrections can be sent to the mount about every second, keeping the telescope positioned perfectly on the sky so the main imaging camera can take much longer subexposures.
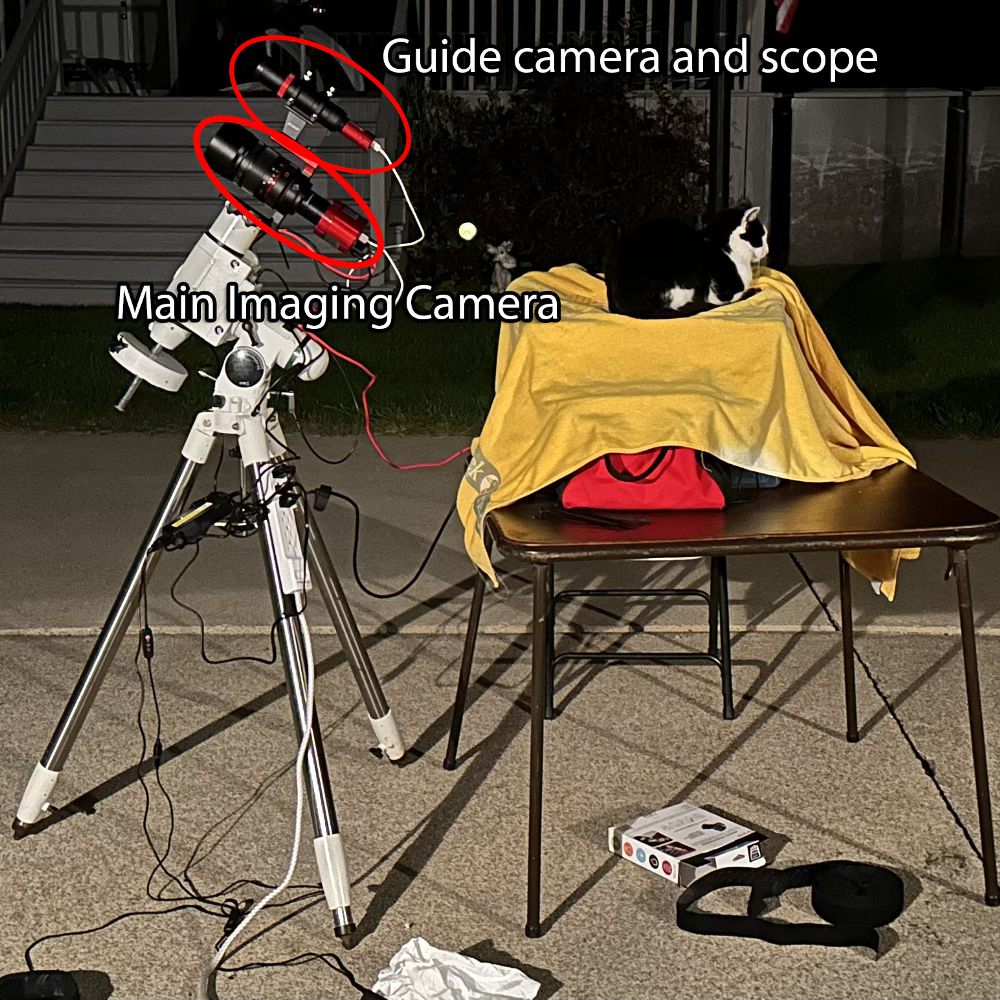
An older setup I had with my cat Noah in his favorite place to sit when I'm out
Software
If one is doing untracked astrophotography with a DSLR or using a basic star tracker, it is common to skip using computer software altogether and to use an intervalometer to have the camera take subexposures repeatedly without human input. This keeps everything relatively simple, and the subexposures can be taken directly off the camera and stacked after image acquisition is complete. However, if one has a dedicated astronomy camera, guiding, autofocusing, and a equatorial mount like I do, computer software to control the setup is required. A lot of people use a little device called an ASIair that attaches directly to the telescope and lets the entire setup be controlled from a phone, but this limits it’s users to ZWO cameras (the manufacturer of the ASIair) and leaves out a lot of control that otherwise could be had using a dedicated computer to run the setup. I use software called Nighttime Imaging N’ Astronomy (NINA) to control my setup and PHD2 for autoguiding. Both of these are completely free and open source, and there is a multitude of community made plugins available to make the complete automation of image acquisition possible.
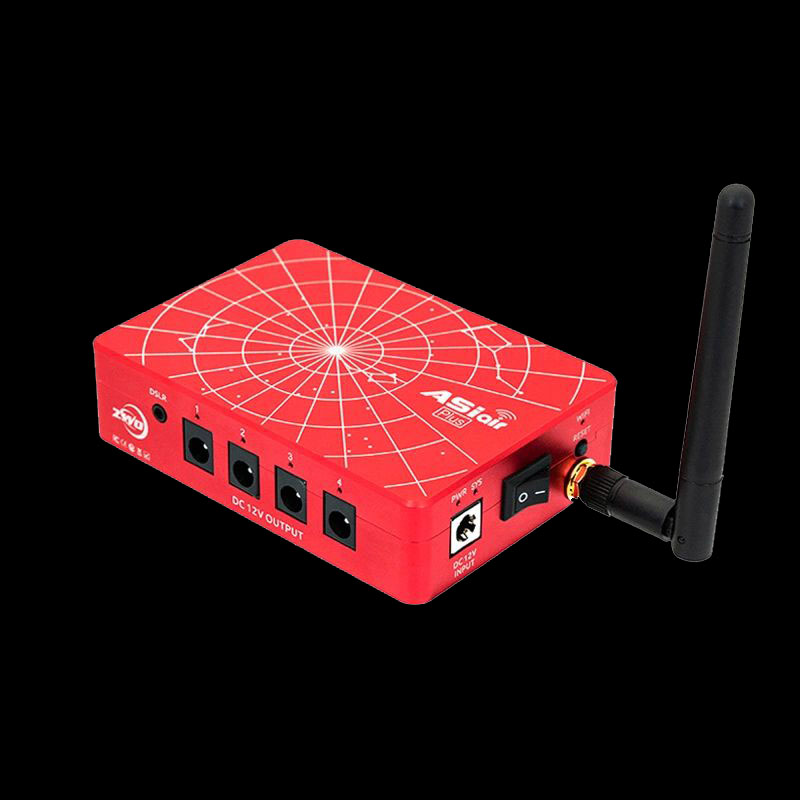

The popular ZWO ASIair and an image of NINA and PHD2 working together to run my setup