Back
This article is written to give a basic understanding of astrophotography image processing to those who have no previous knowledge on daytime photography or astronomy. If you already have a basic understanding of these subjects, you will probably not find this article useful.
Written by Jackson Datkuliak, last updated 11/23/2024
The "Basics" Of Astrophotography: Image Processing
Stacking and Calibration Frames
I will briefly go over the basics of preprocessing and stacking, but if you are curious in learning more about how stacking astronomical images works, you can check out the Siril documentation. To get a good final master image, it is important to have lots of light frames, the actual pictures of the object in space, and calibration frames. Calibration frames remove noise and calibrate out imperfections in the telescope system. Dark and bias frames record the thermal noise and read noise of the camera sensor, respectively. You don’t need to know what that really means, other than that they help calibrate out a source of noise from the image. Both are taken by the camera when absolutely no light is hitting the camera sensor, so usually with the dust cap on. The final type of calibration frame is the flat frame, which records the dust spots in the optical system and the vignetting of the telescope or lens used. These are taken by evenly illuminating the telescope’s field of view, usually with a LED panel or by pointing at a patch of blue sky in the morning. Without calibration frames, the final stacked image will be noisier than it otherwise could be, and dust spots and vignetting will be visible. Taking 25-50 of each calibration frame is usually appropriate. Once all of the lights, darks, biases, and flats are taken, they can be put into a computer program that will create the final master light, ready to be post processed. If everything goes correctly with the stacking algorithm, the final master should have a flat, evenly illuminated field with just the remaining signal from the astronomical object we are trying to image present.

A single dark frame and flat frame
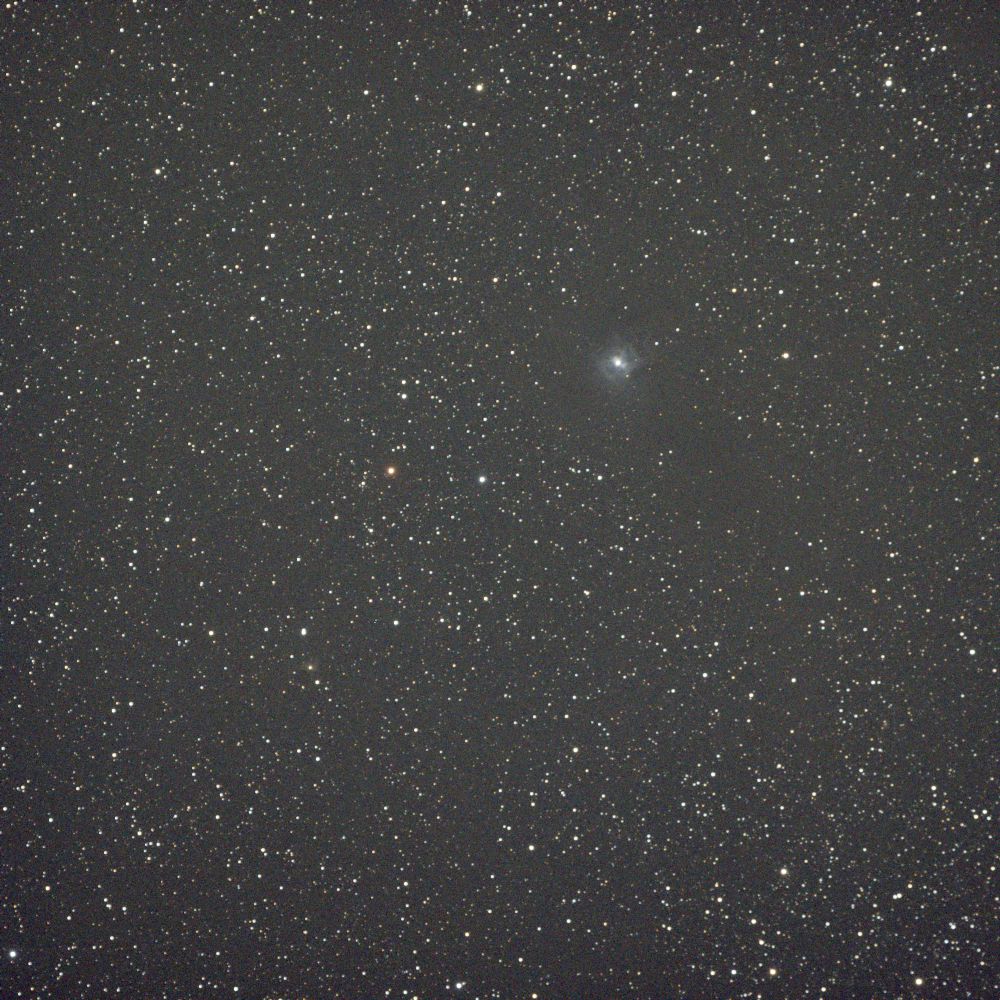
A single 3 minute subexposure and the final stacked image with 14 hours of exposure
Processing
The final image doesn’t just come straight out of the stacking software, however. After the image is calibrated and stacked, it must be processed. Processing is a very in-depth process, and there is no single way to do it. There are an array of different programs and tools that people use to create their astrophotos, but I mainly use a program called PixInsight. It is purpose-built for astrophotography and has some incredible tools to make the final image that much better. I will go over just the major steps that I take in processing my images. When the image comes out of the stacking software, it is in what we call a “linear state.” The data is unstretched and exists only in the darkest parts of the image, so in this stage the image still looks mostly black with a few bright stars visible. A large portion of the processing workflow happens while the image is still in it’s linear state, so we apply autostretches to the image while we are working on it to see what we are doing. Autostretching is purely visual and doesn’t effect the image at all, but just applies a basic stretch to make it so our eyes can see what we are actually doing to the image while it’s still in a linear state.
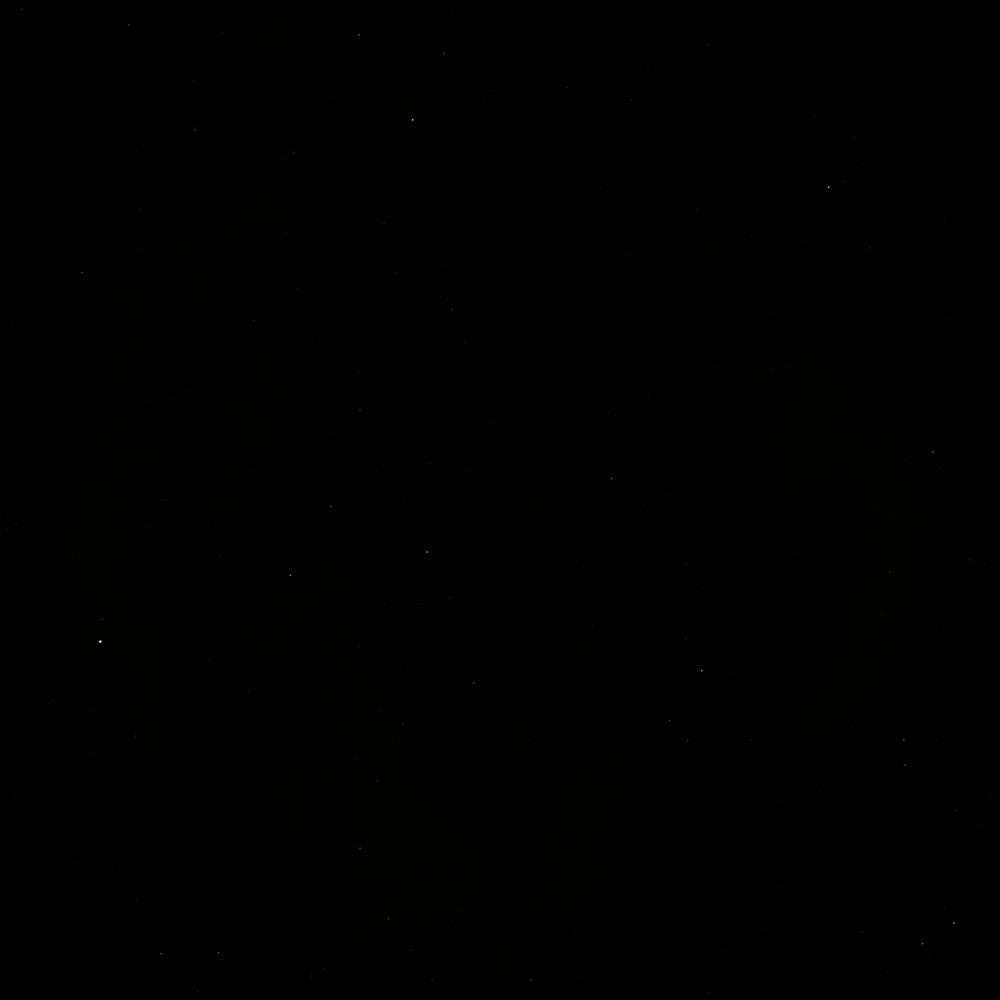
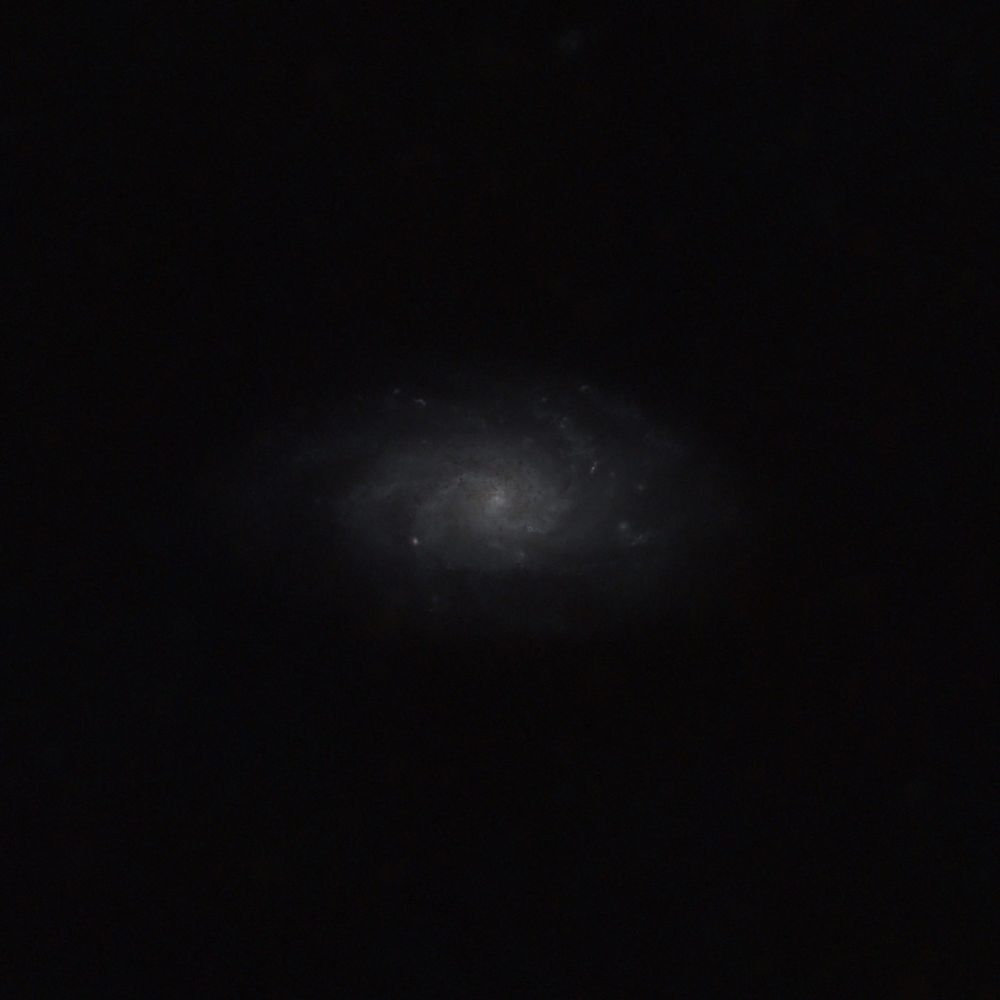
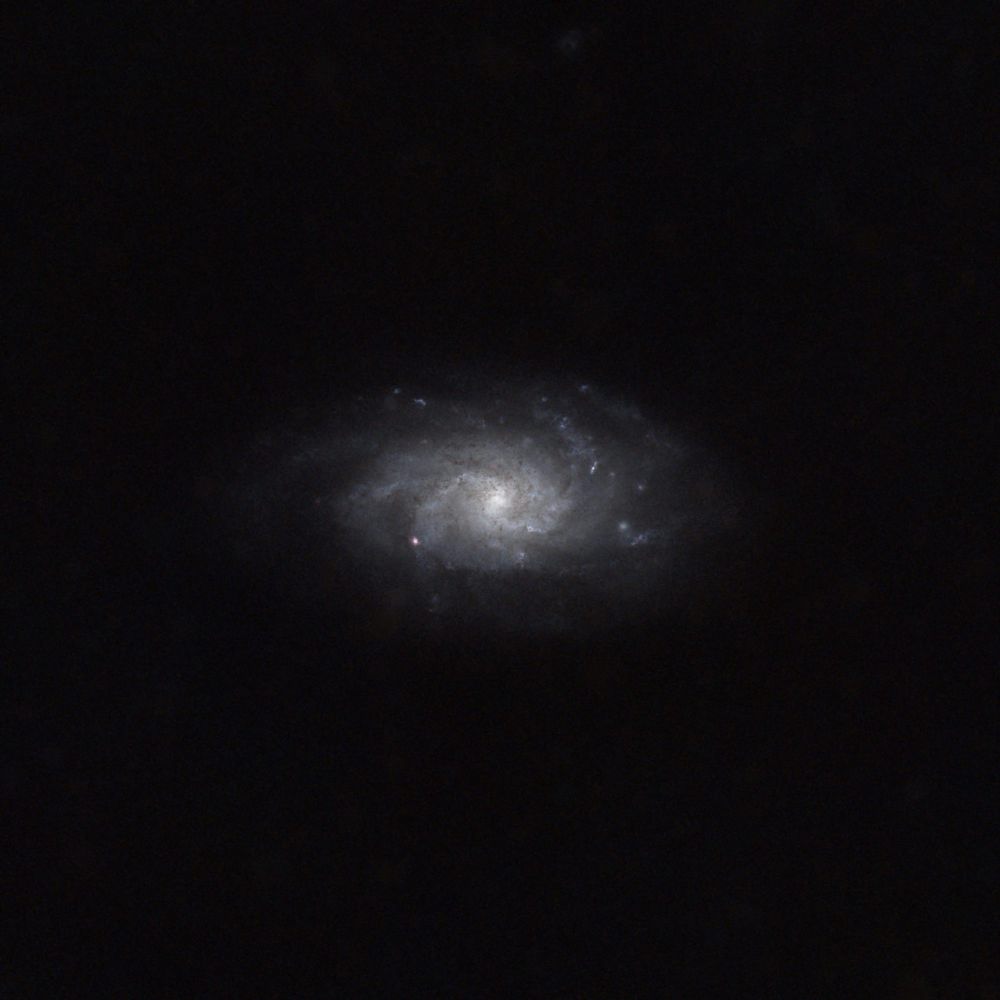
Linear image and image with an autostretch applied to it. It's probably hard to make out the difference between the unstretched image and the background of the page!
Background Extraction and Gradient Removal
Generally, the first step in processing an astrophotos is to do a background extraction or gradient removal. Most astrophotographers have to deal with significant amounts of light pollution that create unwanted gradients in the final stacked image. Even those of us lucky enough to have remote telescopes at dark sites have to deal with skyglow and in some cases gradients directly from the camera sensor. There are many ways to remove gradients from images, but a common tool used by beginners in PixInsight is DynamicBackgroundExtraction. DBE takes samples of sky background all over the image and computes a gradient model that is then subtracted out of the image, leaving an image that (hopefully) has all of it’s gradients removed. Tools like AutomaticBackgroundExtractor and GradientCorrection also exist, but none of these can “perfectly” remove gradients from the image. A much more complex but more comprehensive method of gradient removal is called multiscale gradient removal (MSGR). You can read more about MSGR in the PixInsight Reference Documentation.

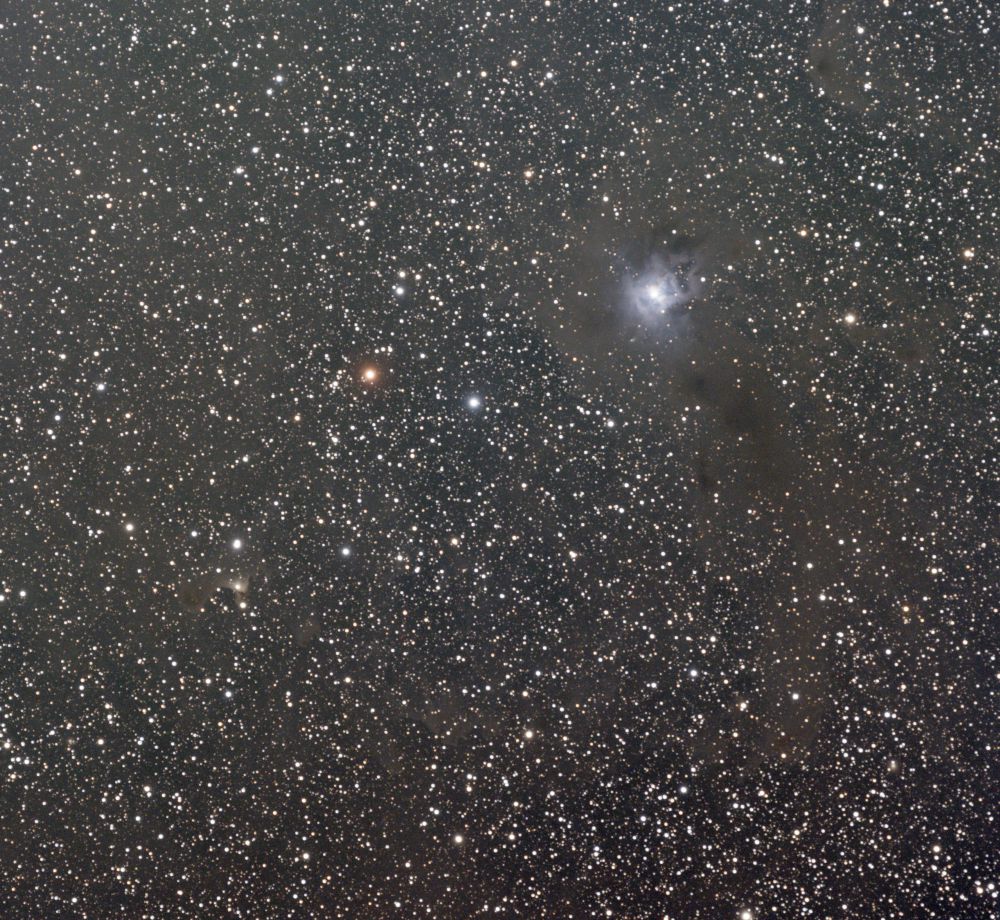
An image straight out of the stacking process and an image with DynamicBackgroundExtraction applied in PixInsight
Deconvolution
While the image is still in it’s linear state, I apply a deconvolution. Deconvolution is a very heavy topic, but the gist is that it is a deblurring algorithm. In your imaging system, there are sources of blur. Whether that be in the optical design of the elements of your lens or the atmospheric wobble that you have no control over, there will be additional blur you don’t want in the image. Deconvolution is a mathematical process that attempts to undo this blur and return the image to it’s intended, sharp state. I use an AI-assisted tool called BlurXTerminator that does most of the work for me. If you want to learn more about convolutions and their applications in other fields than astrophotography, I recommend watching this 3Blue1Brown video. It should be noted that an improperly applied deconvolution can oversharpen the image, create small false strucutres, and will just look bad. It is important to inspect the image after applying deconvolution to ensure it was applied correctly.
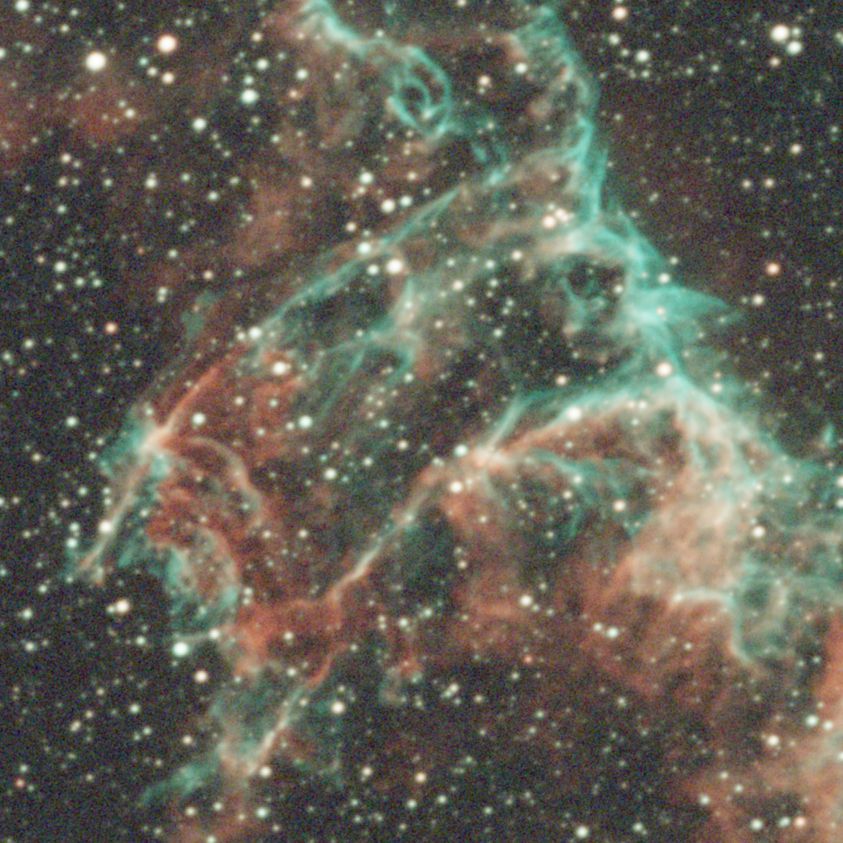

Cropped comparison of an image with no deconvolution done and with BlurXTerminator applied
Color Calibration
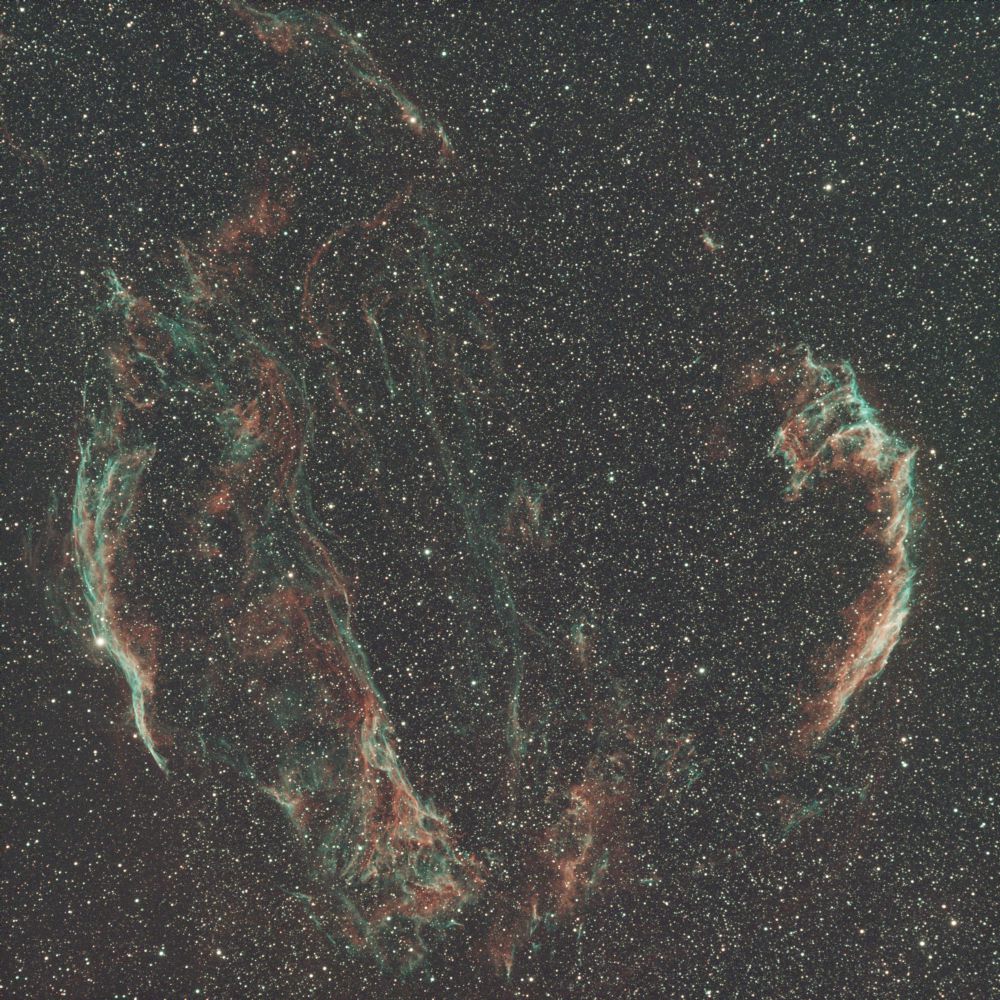
Depending on the type of data you have, you may also want to apply a color calibration. PixInsight and other astrophotography specific software have processes that analyze the color of the stars in your image and change the color balance of the photo to match what the colors would look like in an ideal world. That is all I will say about photometric color calibration, but if you would like to learn more about how it works, you can check out the PixInsight Reference Documentation on spectrophotometry-based color calibration. Color calibration is really only required for full color images, but astrophotographers often take narrowband images. These images are taken with special filters that only let light through from sulfur, hydrogen, or oxygen. Usually, these are assigned to the red, green, and blue color channels respectively for an SHO Hubble style image. If only hydrogen and oxygen data is available (which is often the case if doing narrowband imaging with a color camera), then HOO images are typically made where hydrogen is red and oxygen is teal. No color calibration is needed as the colors are completely falsified anyway (although this doesn’t make the data any less real!).
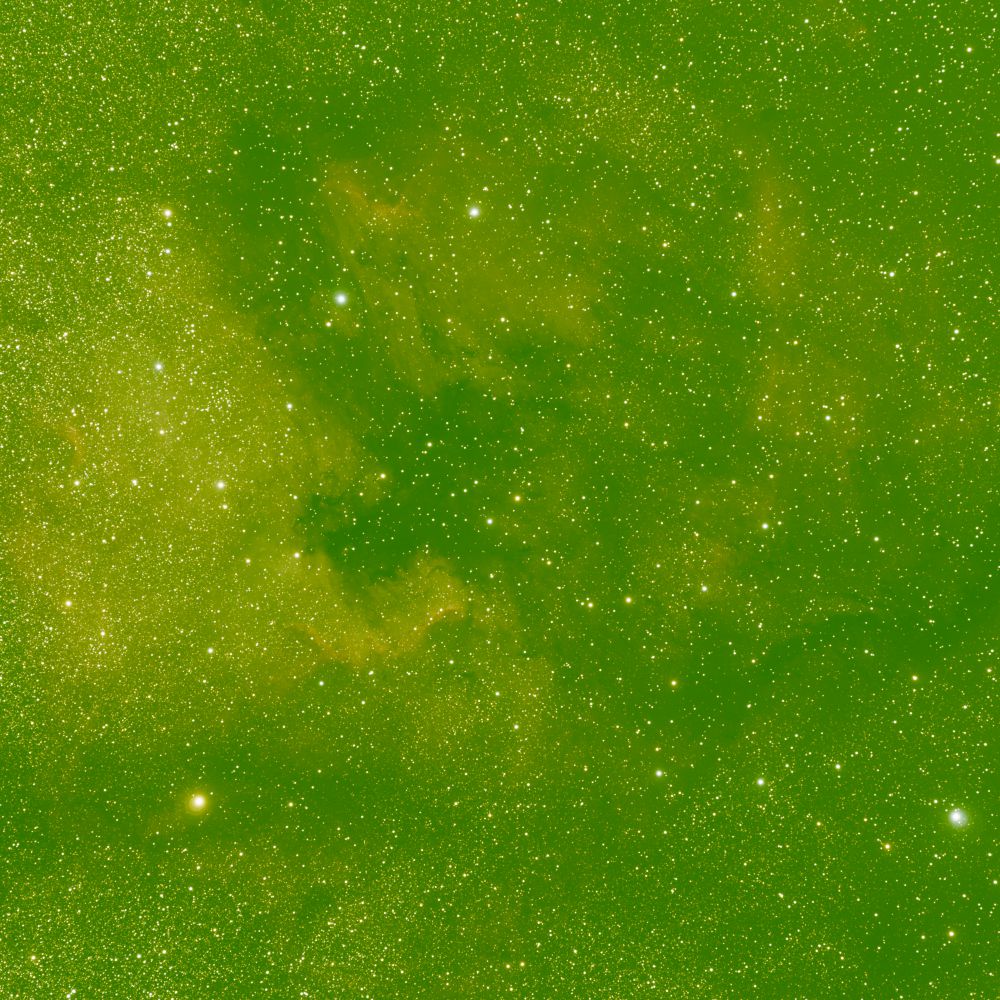
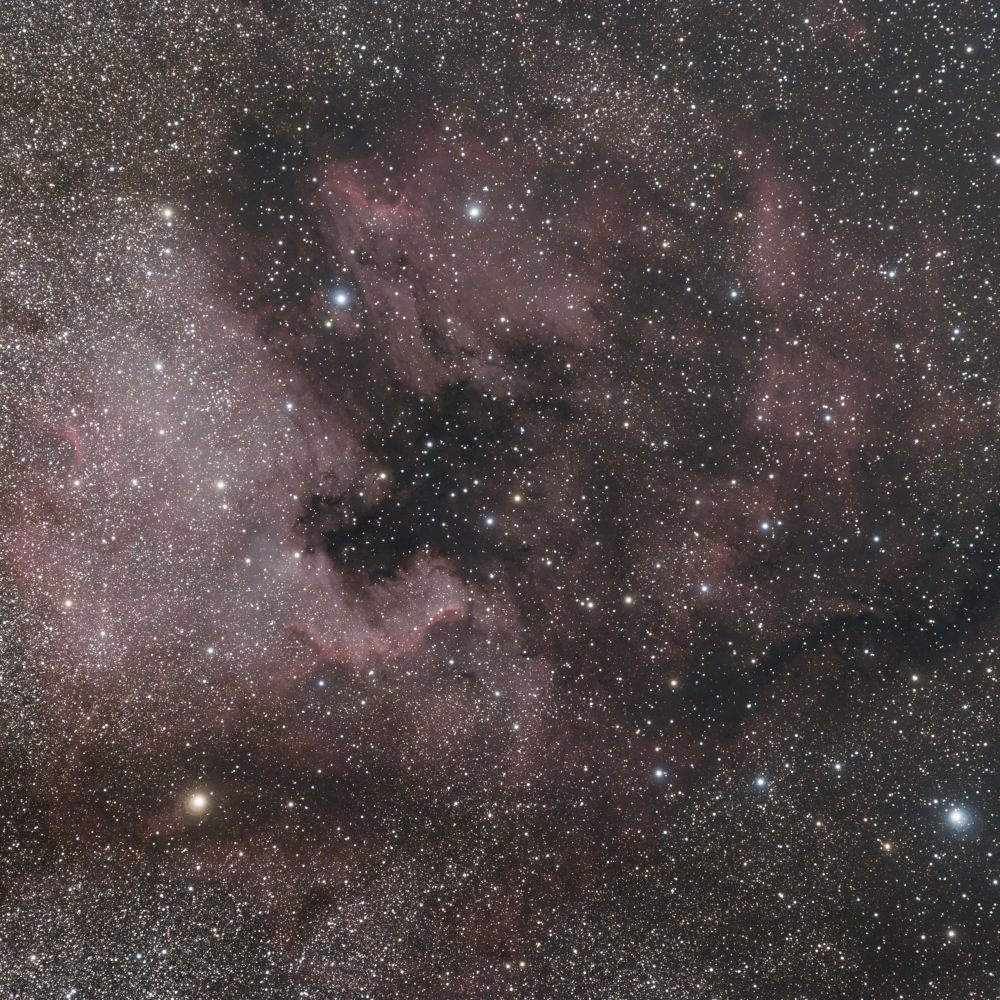
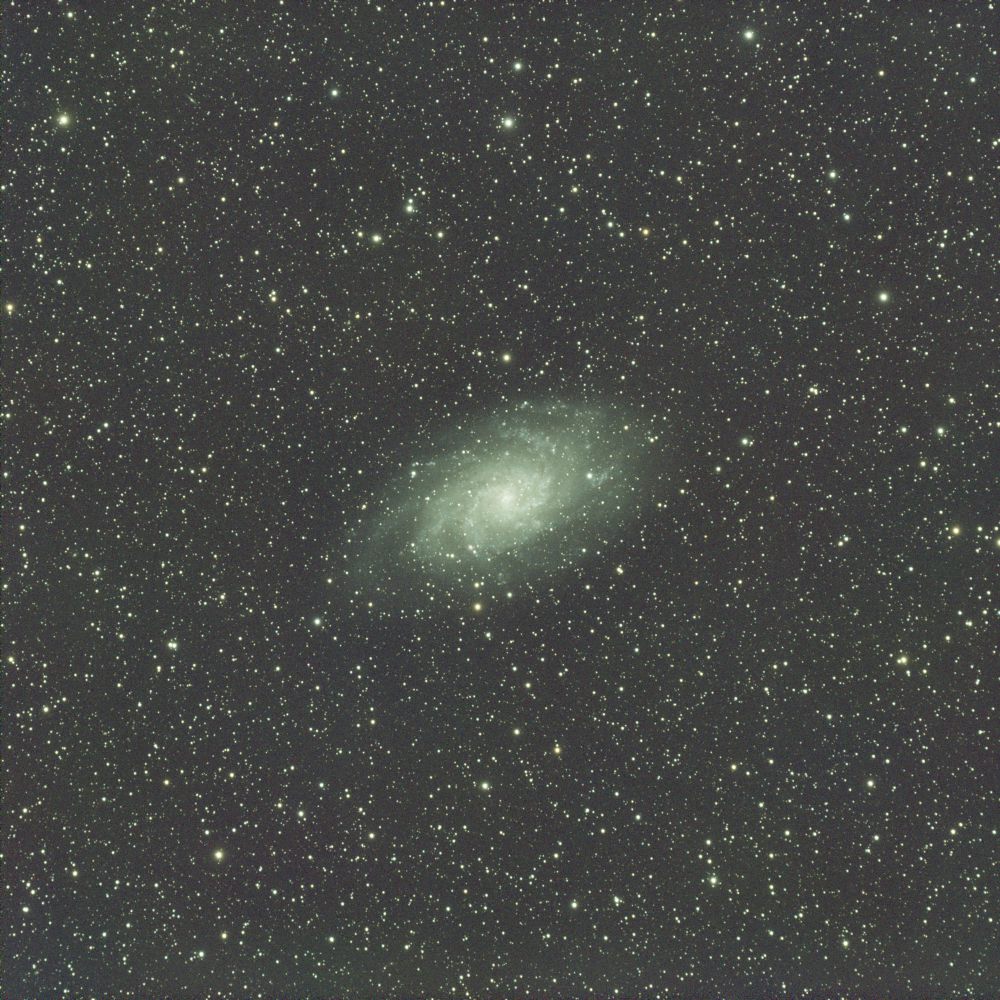
Image with no color calibration and an image with SpectrophotometricColorCalibration applied in PixInsight. You will notice how green the image with no color calibration is, this is because color cameras have 2 green pixels for every blue and red pixel, so green typically comes out much stronger in the images raw state.
Stretching
Eventually, you’ll get to the point where you need to stretch your image to its nonlinear state. Before we do that, let’s make sure you understand exactly why we need to do this. Let’s consider a thought experiment. Consider yourself in a room with the lights turned off and a projector running showing an image on the wall. How can your eyes simultaneously see the bright image from the projector and the dark shadowy corner on the opposite side of the room? The difference in light level is huge! This is because your brain doesn’t just take the raw signal from your eyes, it takes that signal and applies a logarithmic function to it to make the information in the super bright parts of your vision still have detail while keeping the very weak signals from the dark part of your vision boosted up enough that you can still perceive them against the light part. The human eye actually has a very impressive dynamic range and is substantially better at perceiving very dark and very bright things than digital cameras are. You can think of an unstretched image like how our eyes would work if our brain didn’t apply this logarithmic function. All the detail is there, it’s just hidden where our eyes can’t see it! When we stretch the image, we are taking all the details in the super dark corner and bringing them forward into the light parts of the image where we can see them. There are many ways to stretch an image, but they all are trying to achieve the same end goal: getting the signal (the object in space) in the light parts of the image while keeping the noise and space background in the dark parts of the image. Some people just use the autostretch function and apply that to the image, but I find that using other processes and doing it manually usually provides a better result. I would argue controlling dynamic range is actually the most difficult part of processing an astrophoto, as many objects in space have substantial dynamic range, such as the core of the Andromeda galaxy or the Orion nebula.
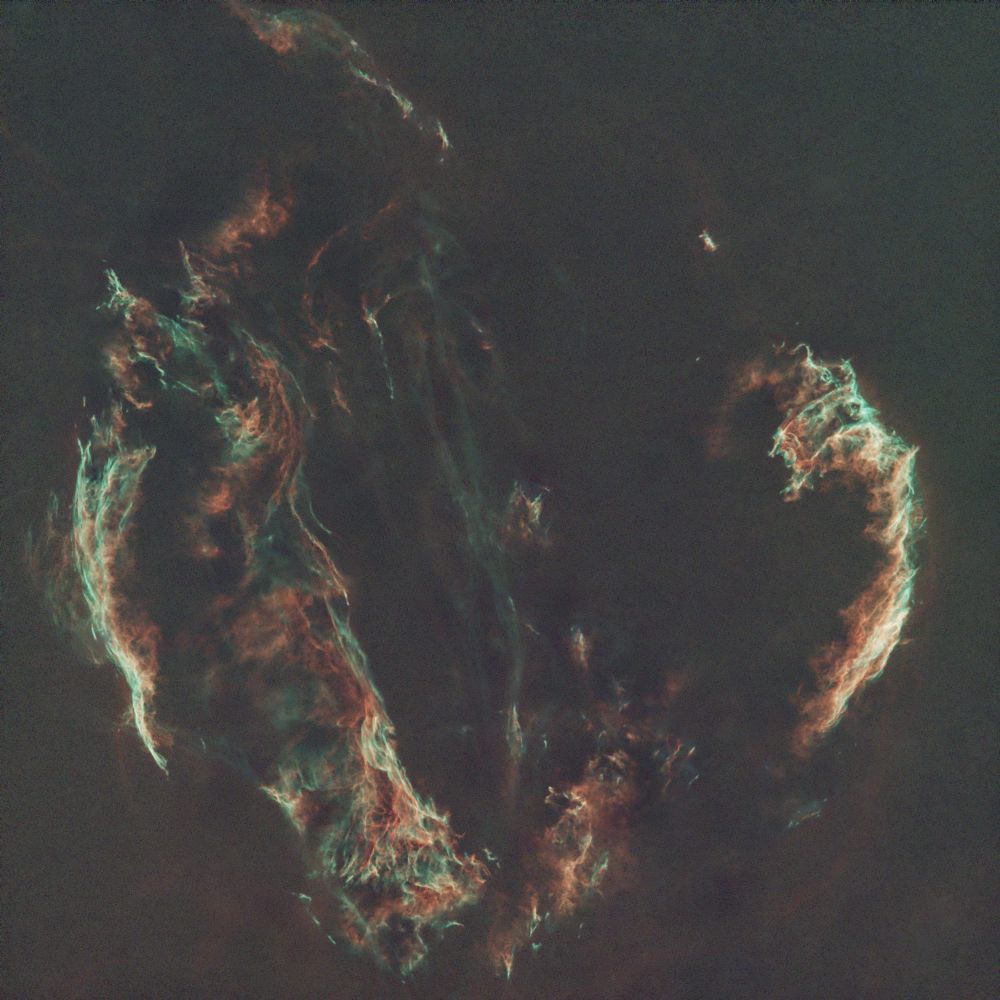
Two starless images in different stages of the stretching process
Noise Reduction
It may be applicable to apply some noise reduction when processing an image. It is not always possible to get as much exposure time as one may want, or local light pollution could make it entirely impossible to get a relatively noise free image. There are some noise reduction processes in PixInsight, but I will not go into depth on them here as they are quite complicated to use. However, there are easy to use AI-based noise reduction tools available. The two most popular (as of writing this article) are NoiseXTerminator and DeepSNR. It is not always necessary to do noise reduction, and one must be careful when applying it as noise reduction algorithms can be destructive.
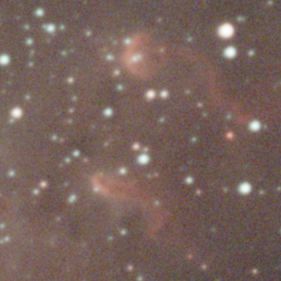
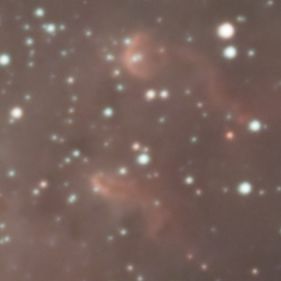
Image with no noise reduction applied and an image with NoiseXTerminator applied in PixInsight
Star Removal
Another topic I will touch on that is very important is star removal. Star removal isn’t strictly necessary, but in some cases it greatly aides in the making of the final image. The problem with having stars in our image is that they are incredibly bright when compared to the nebulosity we are trying to capture. When stretching an image with the stars still present, the stars will fill the field and make it a lot harder to completely stretch the nebulosity. If applicable, I do a star removal to take the stars out of the image before stretching. After doing this, I process the stars image and the nebulosity image separately and recombine them at the end of the workflow. This allows you to create a much nicer looking image in the end that have reasonable looking stars and bright, beautiful nebulosity. The processes I use for star removal are the AI-based StarXTerminator or StarNet. These ai models can be very destructive of certain nebulosity, so it is important to inspect the images after using them to ensure that they worked correctly. I do not use star removal at all if it is not needed as I do not want to risk destroying the data I am working on.

A image with stars and a starless image made with StarXTerminator
A Note on AI-based Machine Learning Models
You have probably noticed that I mention the RC-Astro tools BlurXTerminator, NoiseXTerminator, and StarXTerminator made by Russel Croman are AI-based tools. StarNet and DeepSNR made by Mikita Misiura are also AI-based. I want to make it clear that these are not generative AI. They are machine learning models that are trained for a specific purpose and have restrictions set on them to minimize creating anything that isn’t real in the image. I never use these tools when processing scientific data unless it is just for fun and messing around. Machine learning models are used in real scientific research and are not the same as the generative AI models we see dominating the internet today. Large language models (LLMs) and generative image models are completely different from the machine learning models many amateurs use when processing astrophotos. That being said, some amateurs still stay away from them anyway, and they are absolutely not necessary to make a fantastic astrophoto.