Back
The "Basics" Of Astrophotography
Daytime Photography vs. Astrophotography
Astrophotography is a quite a bit more complex than normal photography. The main difference between them is the camera’s exposure time, which is how long the camera sensor is recording the incoming light hitting the sensor. For normal daytime photography, this can be a tiny fraction of a second. During the night or in a dark room, there is a lot less light for your camera sensor to see. A lot of modern smartphone cameras have integrated a night mode where you hold your phone still for a few seconds and take a long-exposure photo to capture more detail and decrease noise in the final image. Astrophotography operates on the same principle, just to the extreme. Instead of just a few seconds of exposure time, astrophotos are generally exposed from anywhere to tens of minutes to tens of hours. This makes the whole operation of acquiring the photos much more complex.
Exposure Time
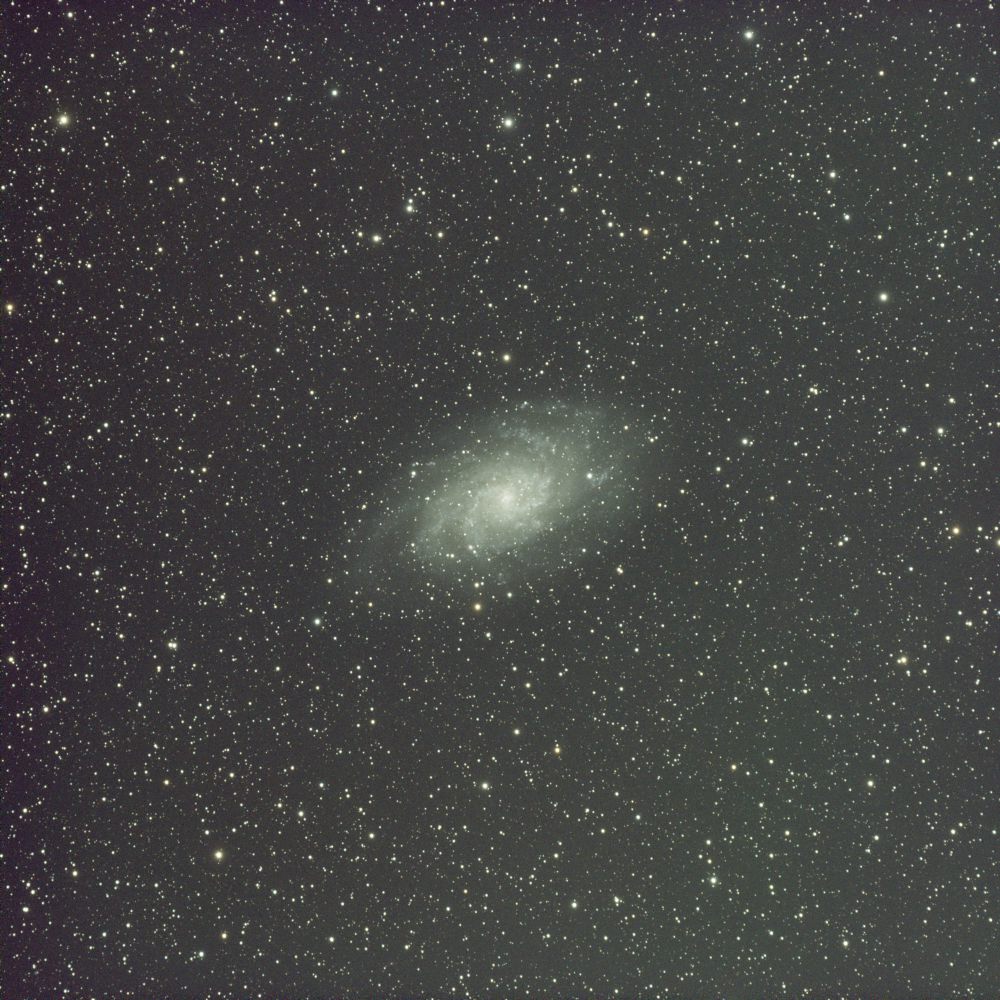
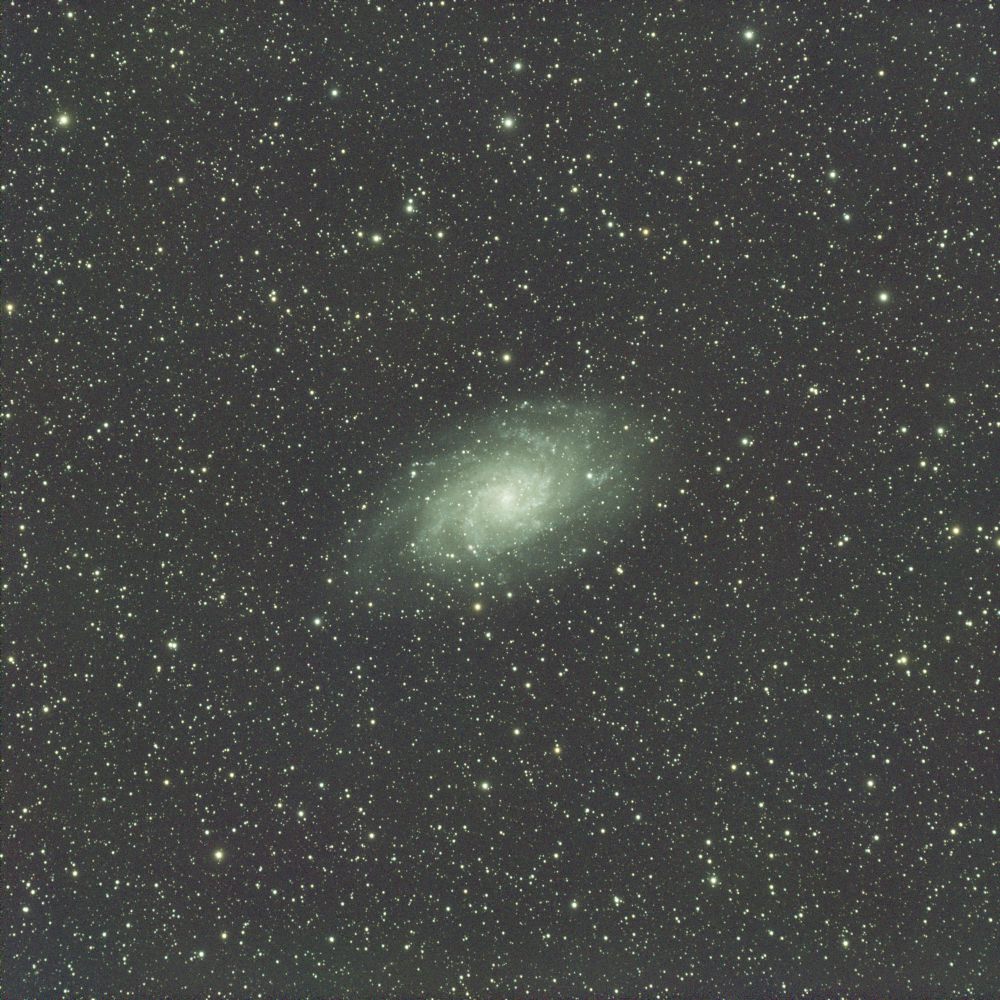
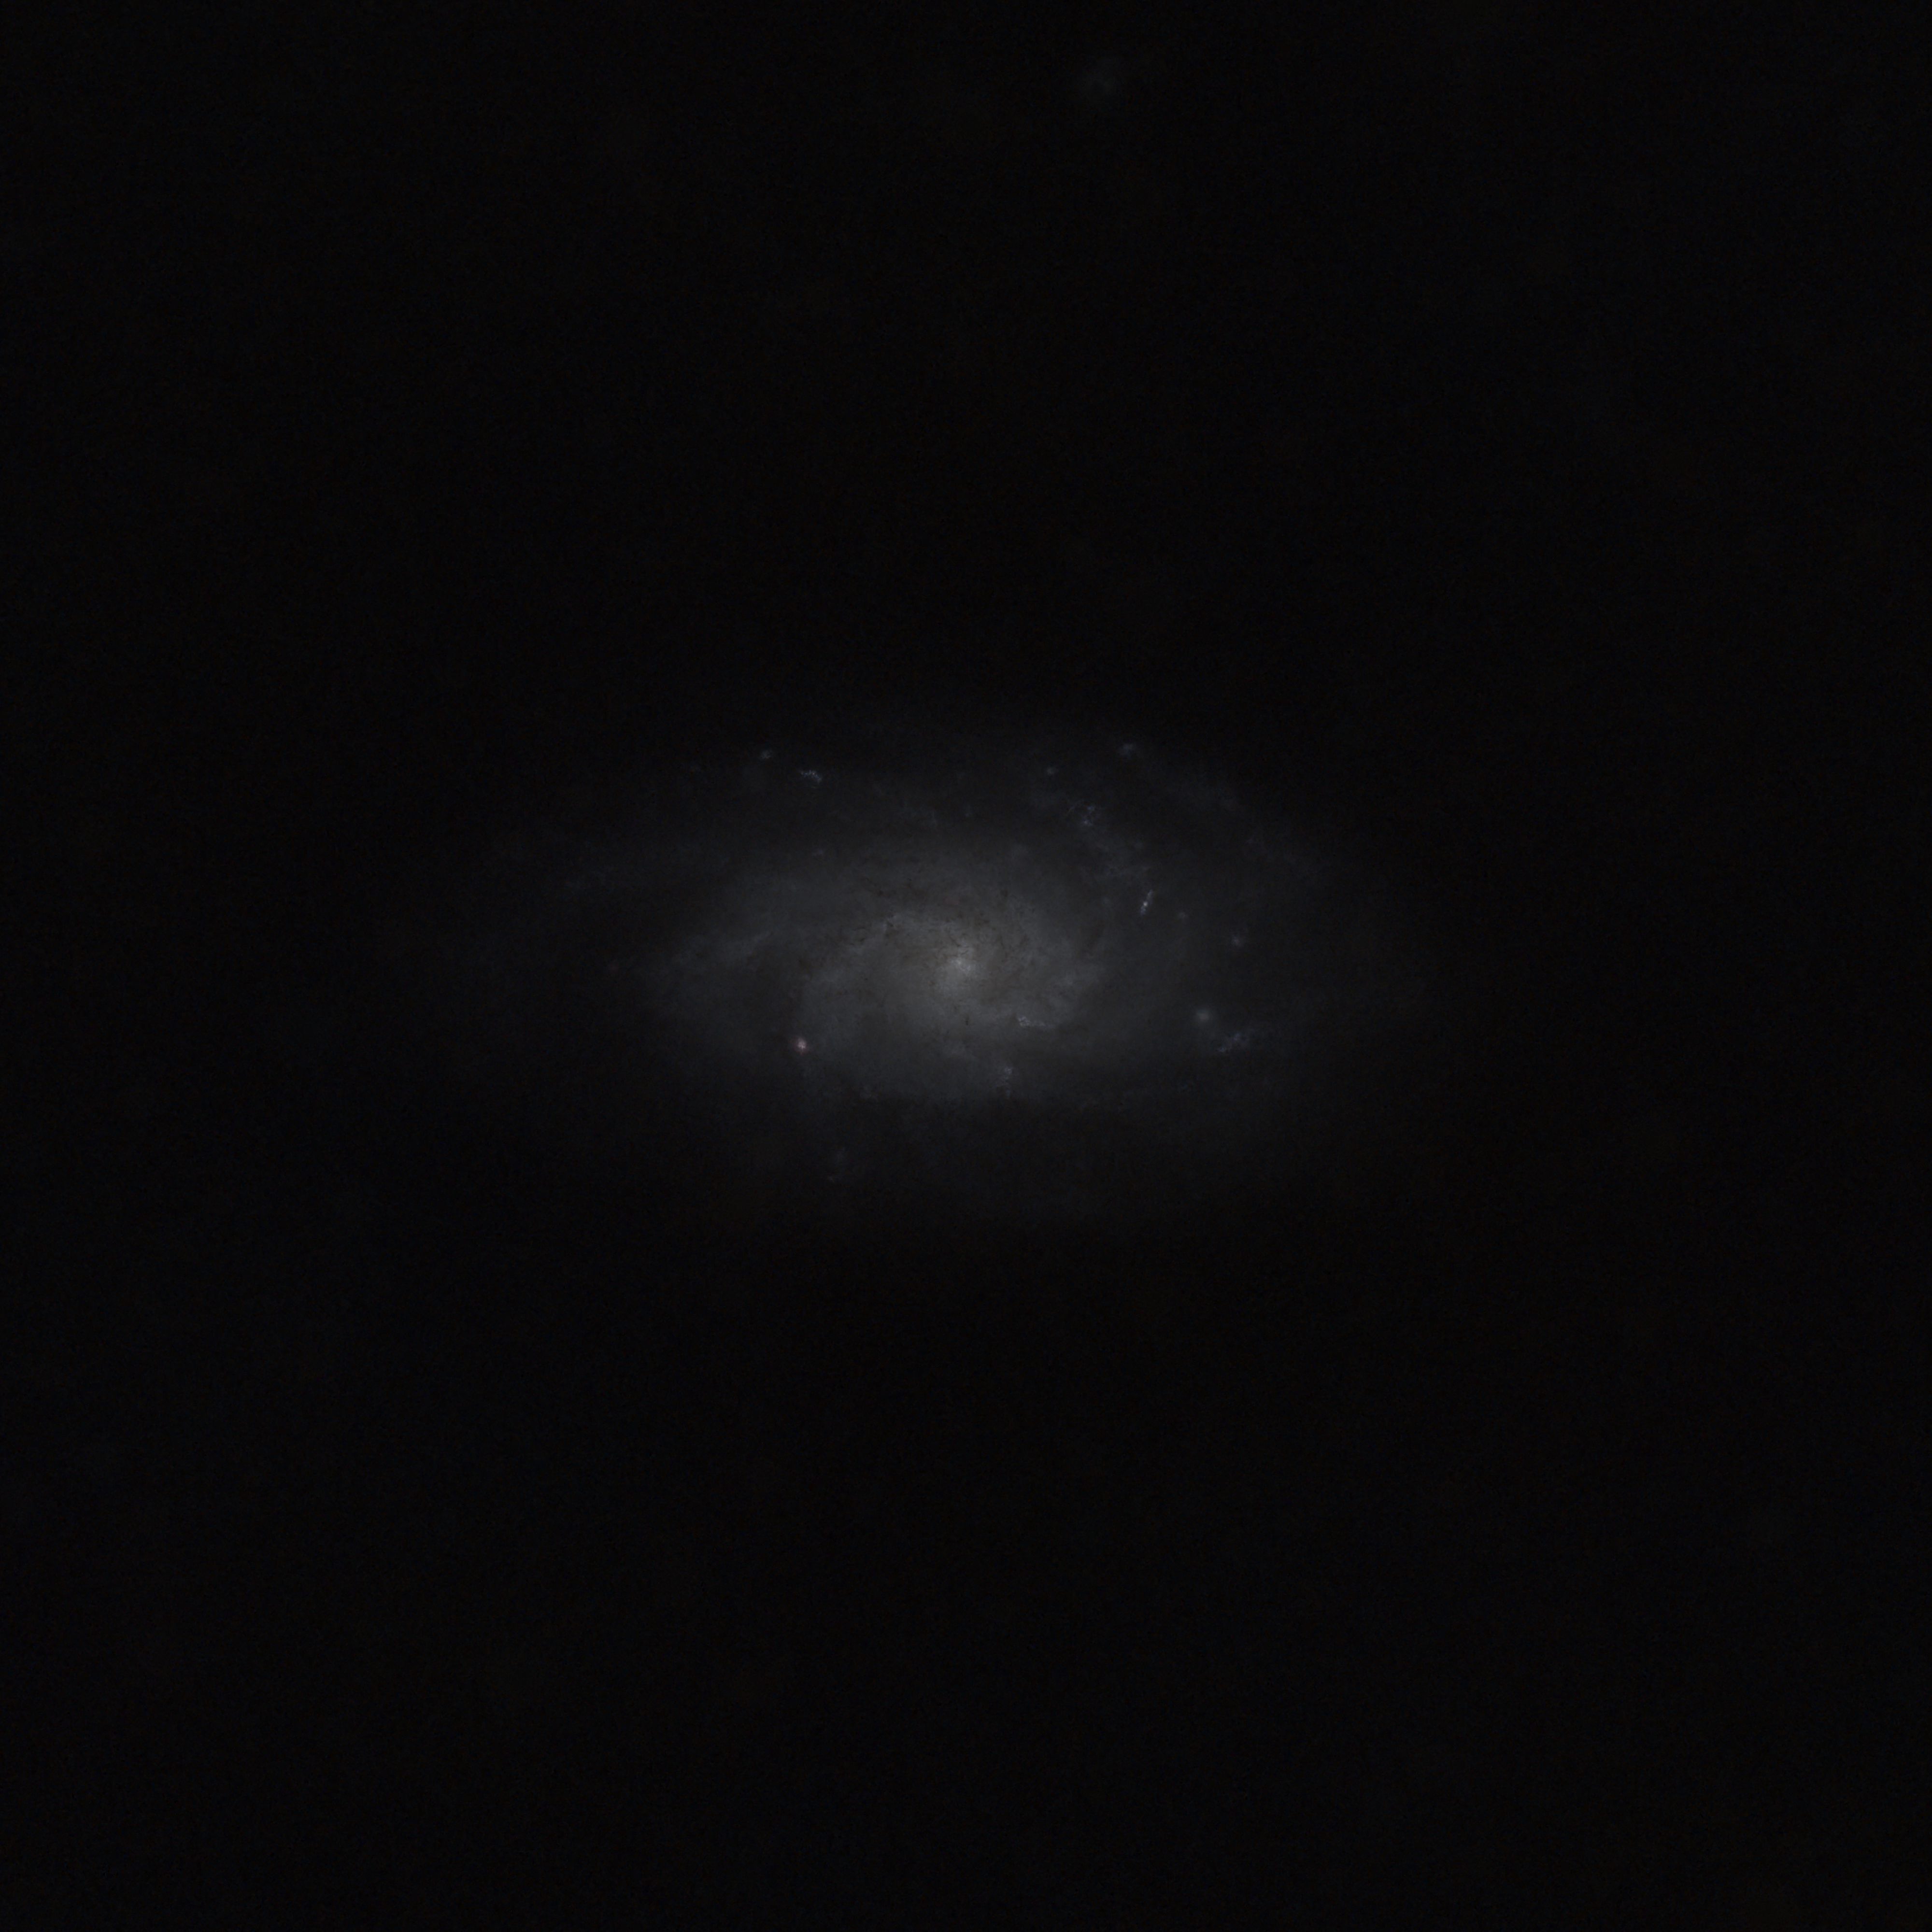
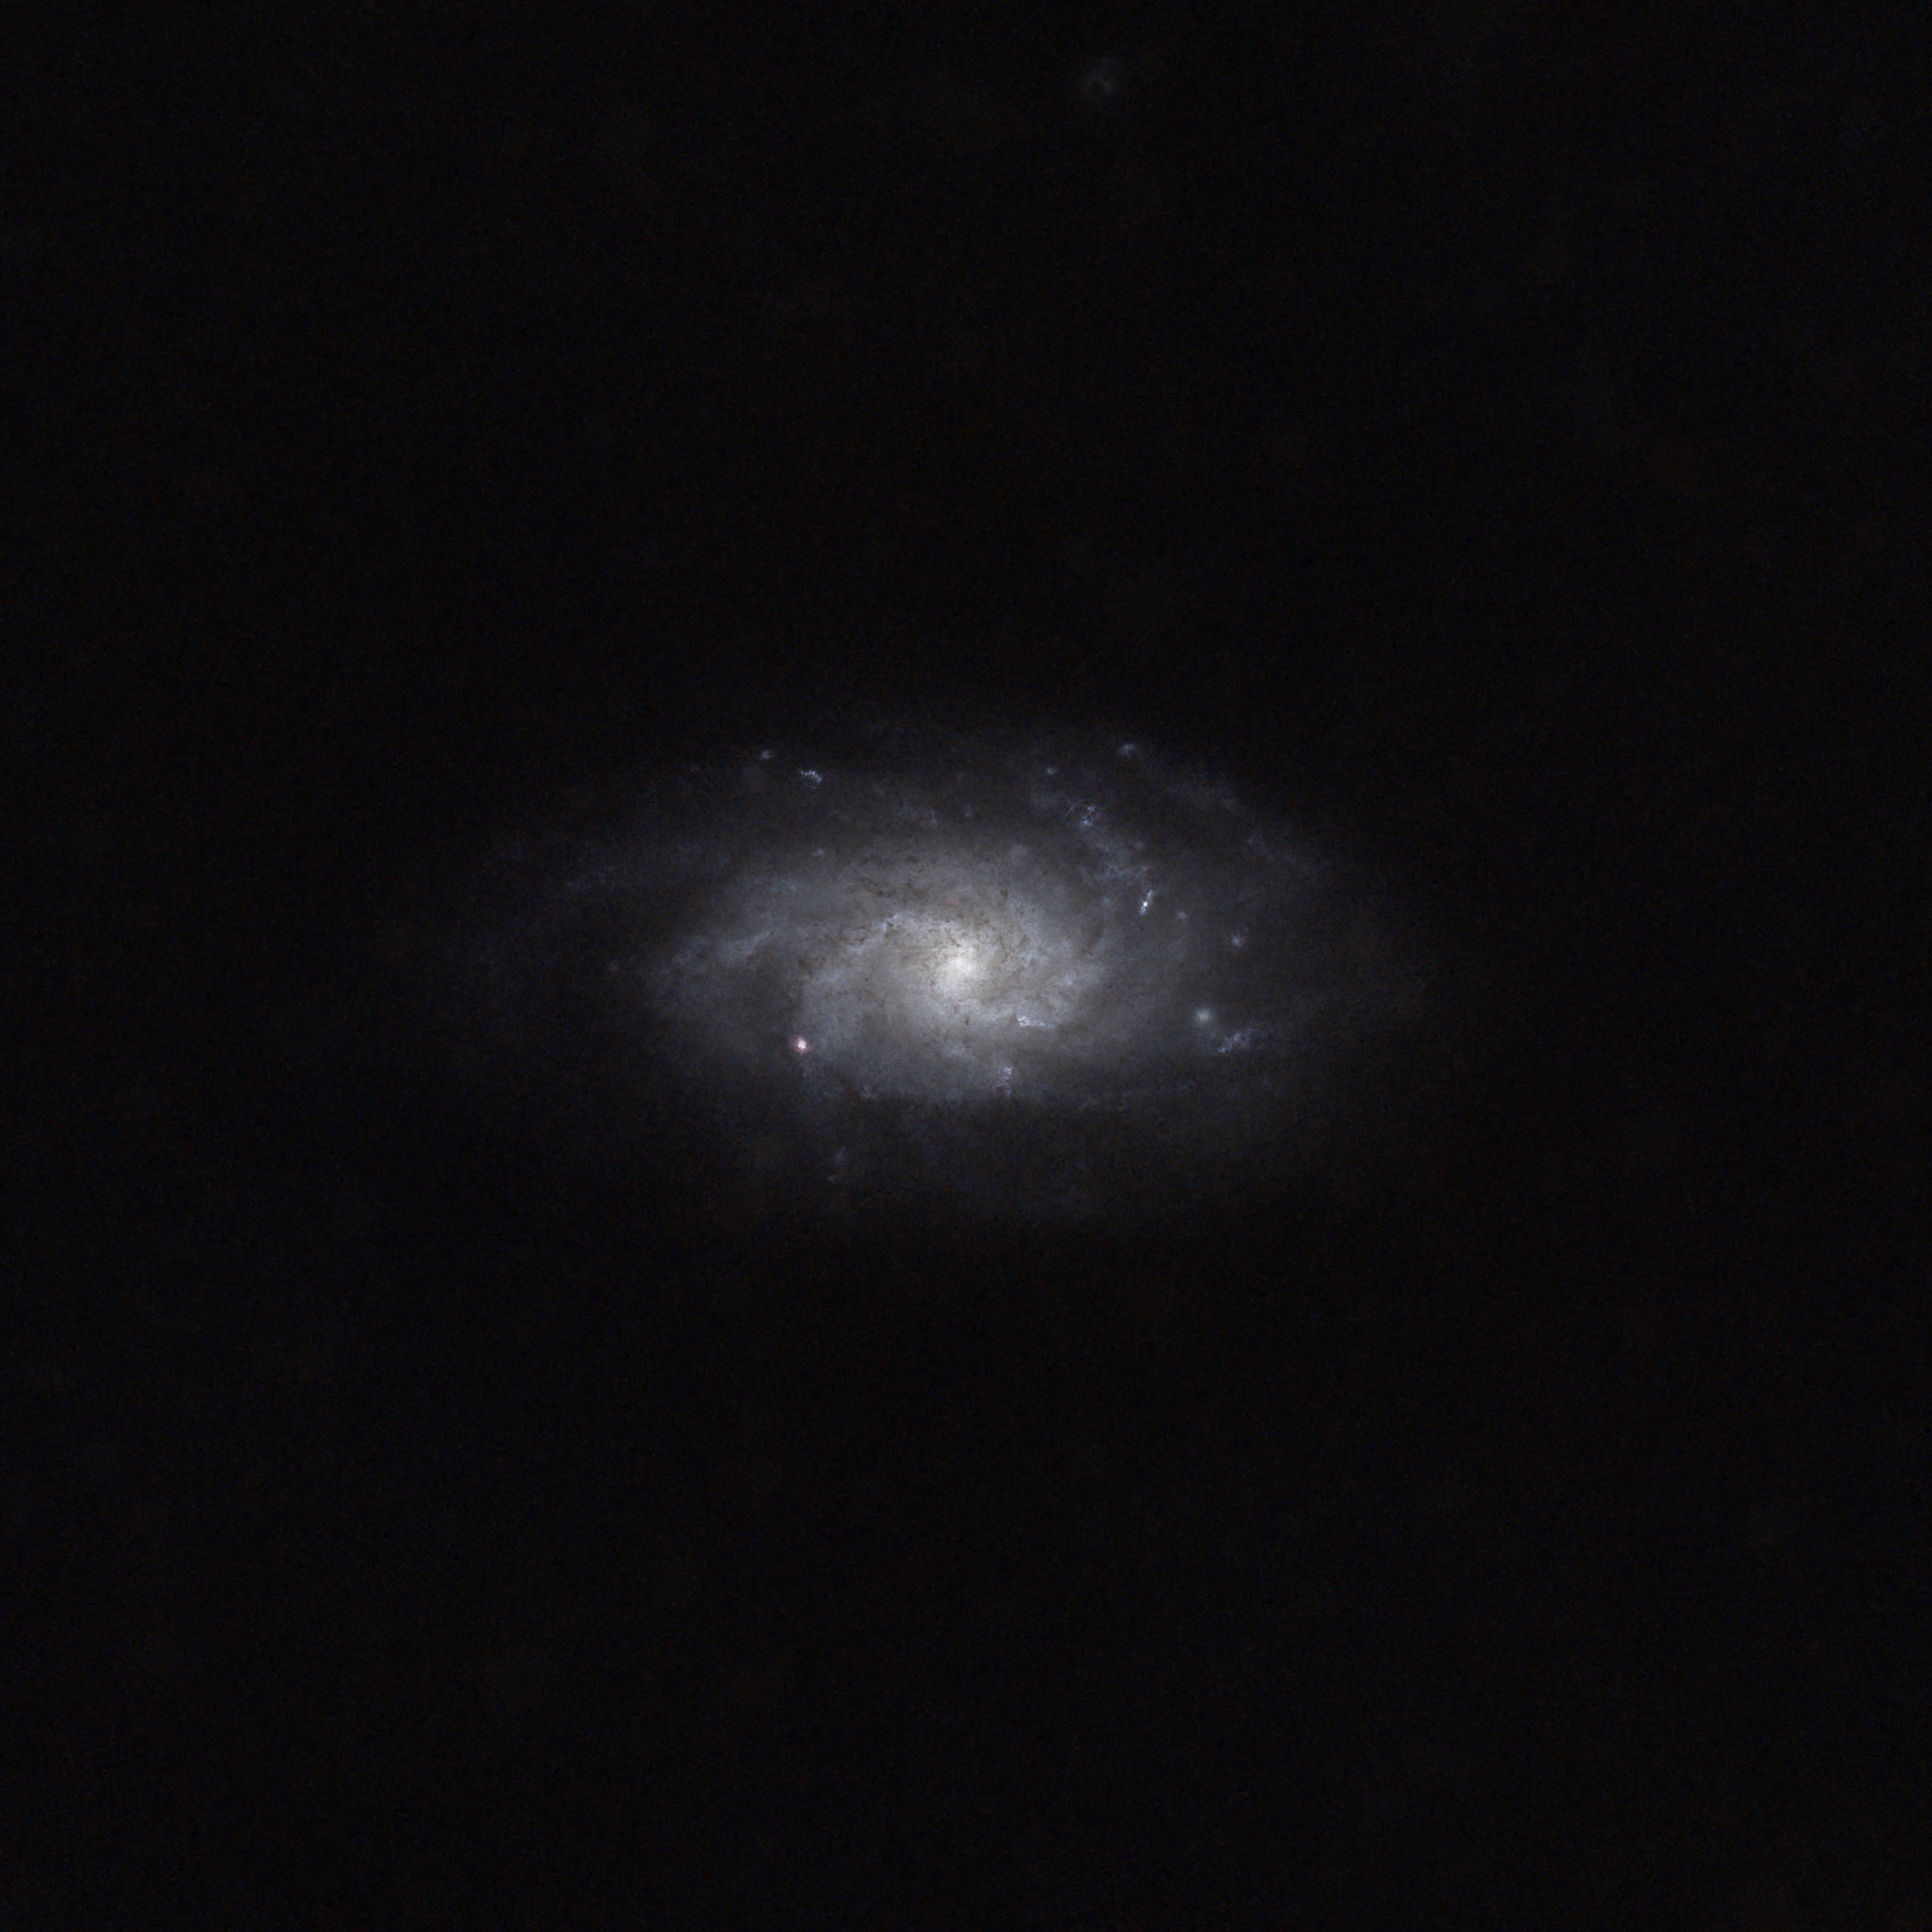
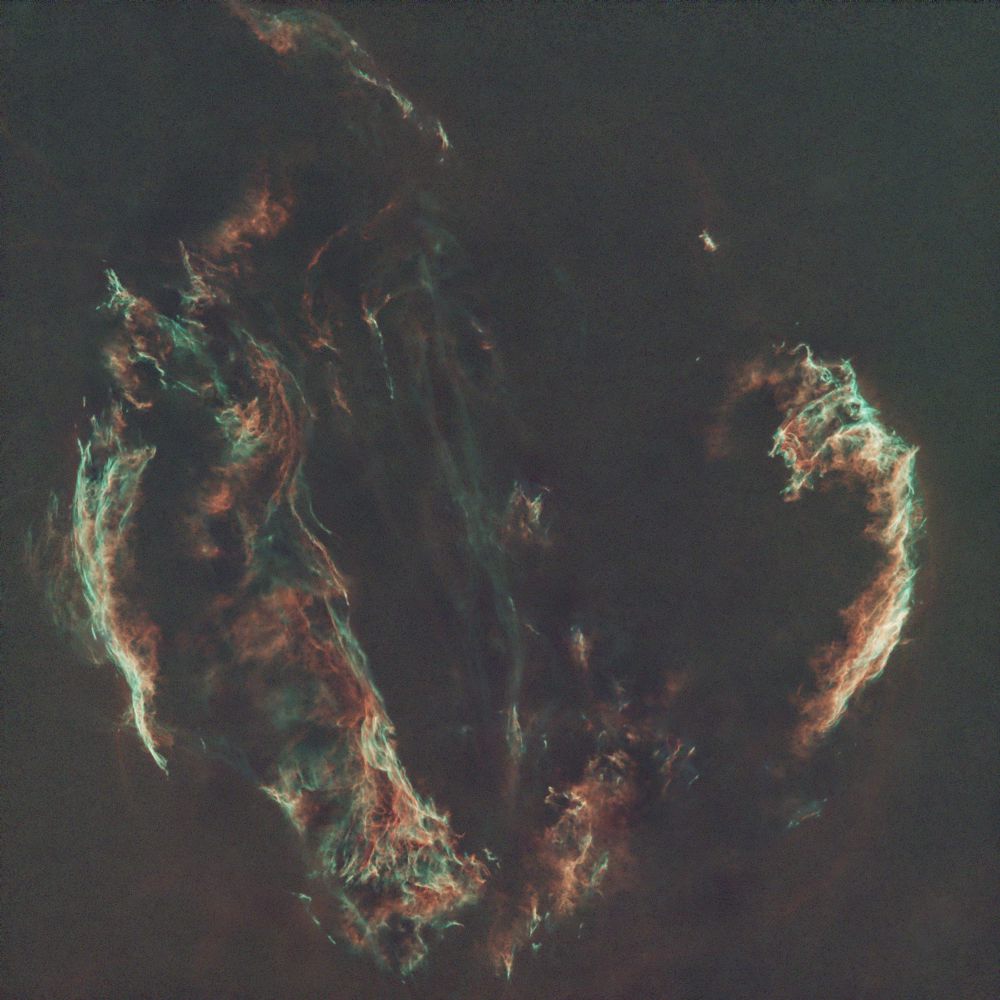
I mentioned above that most astrophotos have exposure times that are in the hours, but how do we achieve that? Well, we don’t just take one photo, we take many individual shorter exposures and stack them. Stacking is a very complicated process that is handled by a computer program, but the gist of it is that you have many individual photos of the same target and combine them all in such a way that the signal (the object in space we are trying to photograph) of all the images is added together and the residual noise in all of the images is subtracted out. This greatly increases the total signal-to-noise ratio (SNR). The higher total exposure time you have, the better and more detailed the final stacked image will come out. The individual pictures, or frames, are generally anywhere from a few seconds to a few minutes long. Most of my astrophotos have subframes that are 5 minutes long. As you might be able to guess, stacking also lets us combine frames from different nights.
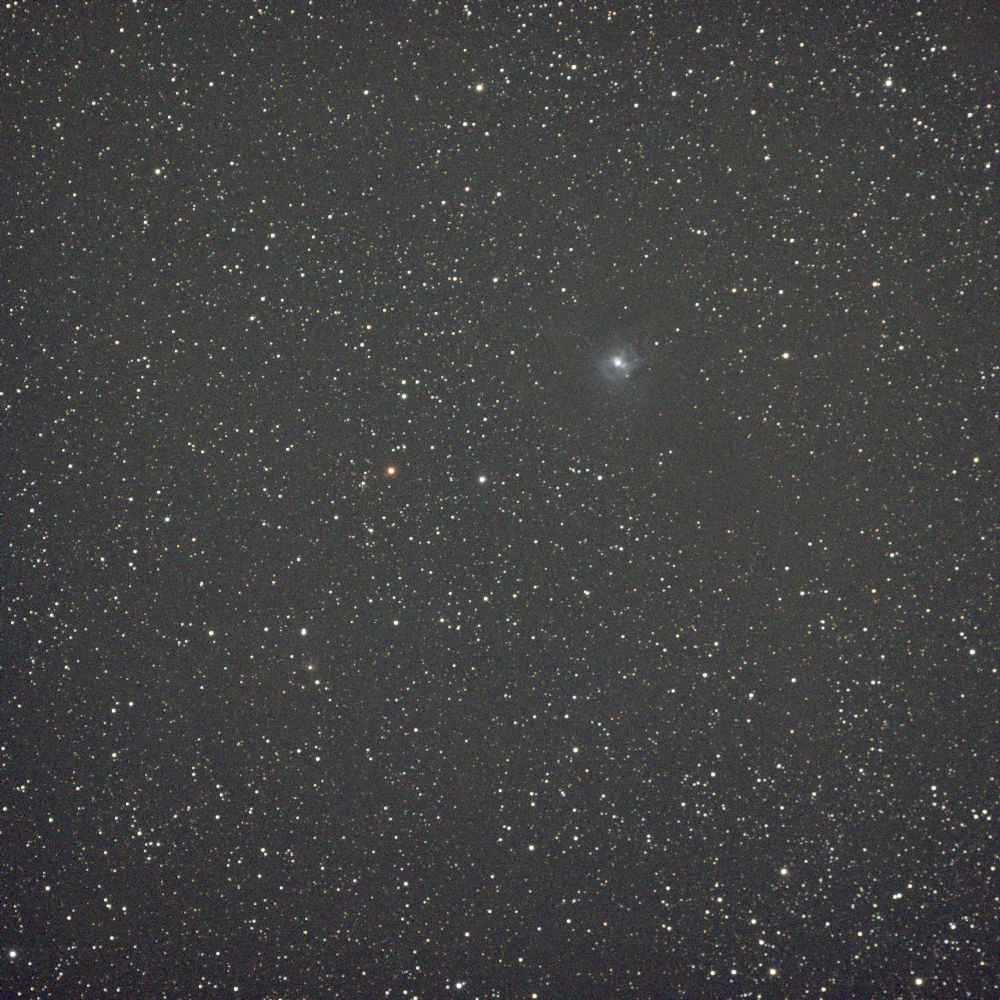
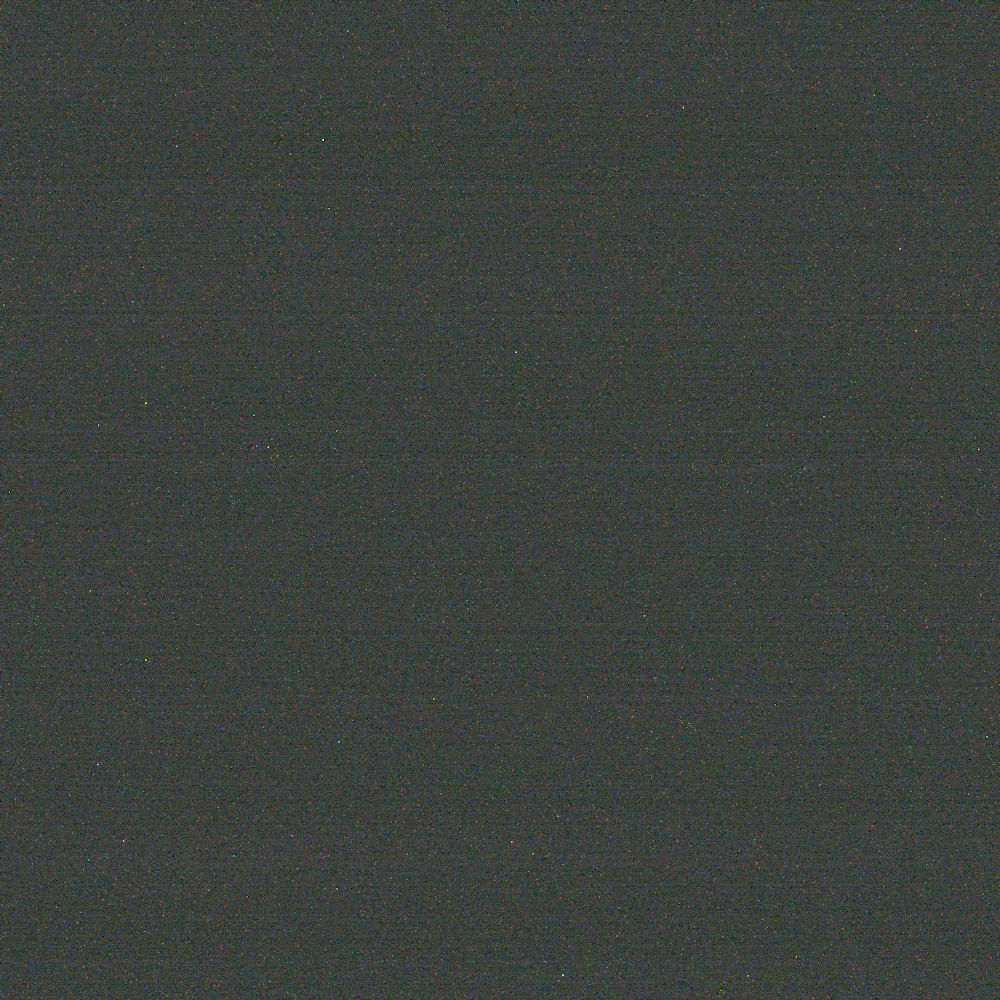
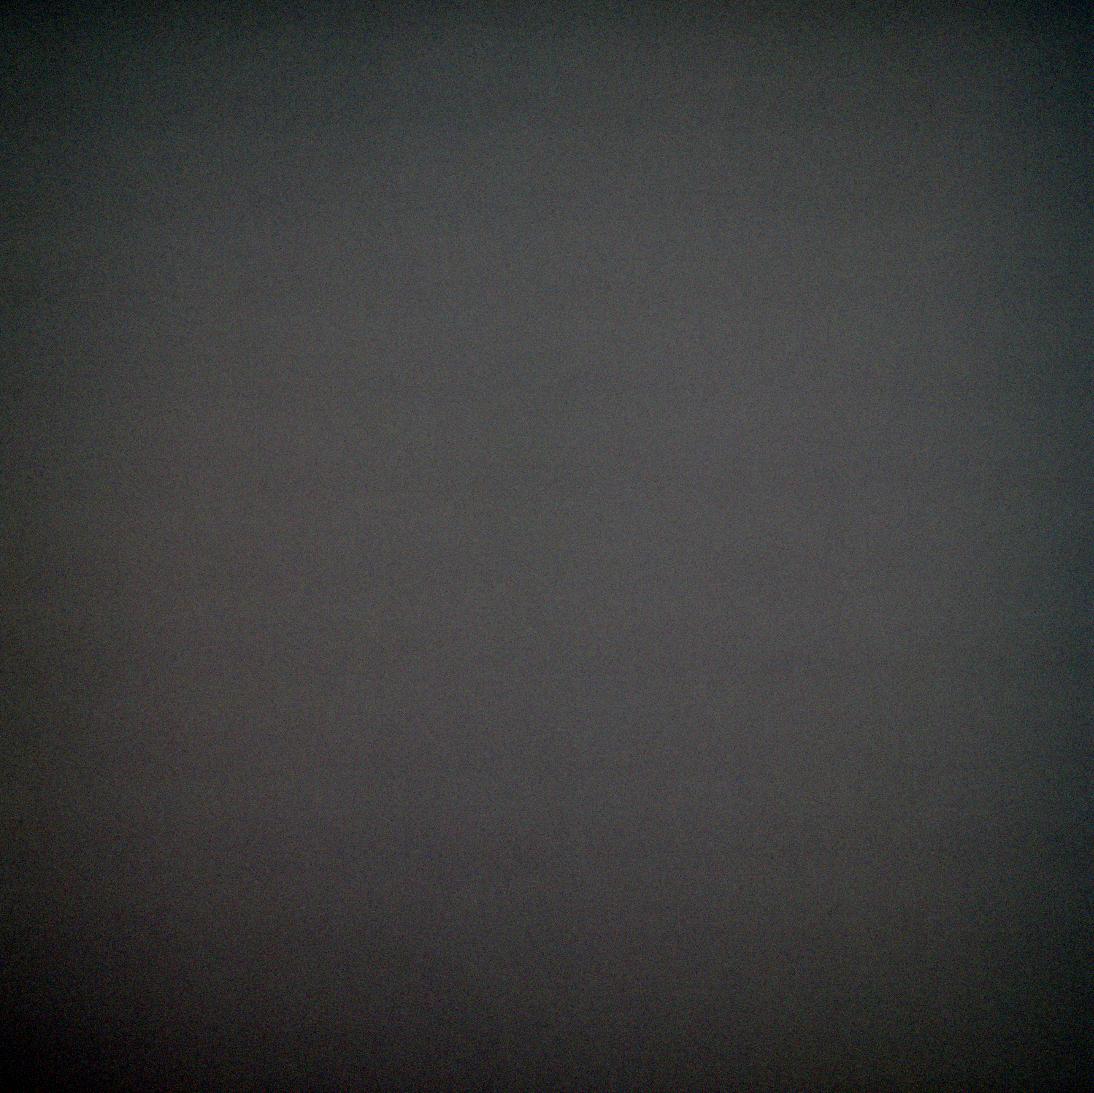
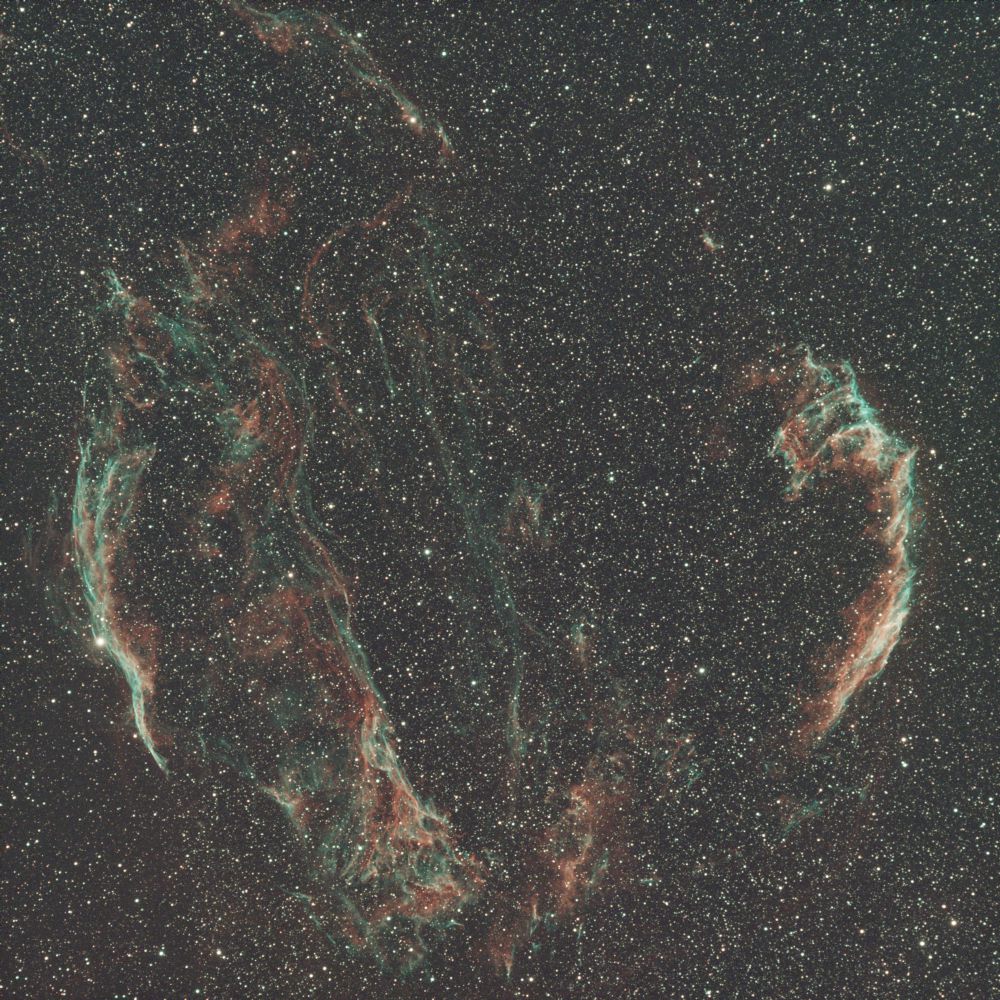
A single 3 minute subexposure and the final stacked image with 14 hours of exposure
Untracked Astrophotography and Star Trackers
Well, you may be wondering now, how do we achieve a 5 minute long exposure of the night sky? If you just use a camera on a tripod, you will notice the stars start to trail after just a few seconds of exposure time. This is because our camera and tripod are not actually stationary, but are rotating with the Earth. It’s not very noticeable to the naked eye, but to a camera that is taking long exposures this rotation is obvious. This is not good as the signal you are trying to capture will be smeared in the final photo and the stars will look very elongated. This is called untracked astrophotography, and you can still get some pretty good images on bright targets with this method if your subframes exposure time is short enough. I attempted untracked for a few nights and did not have a great time with it. It’s very laborious because you must recenter the target every few minutes and the final image really is not that great, so I quickly bought a star tracker after my first few nights of astrophotography.
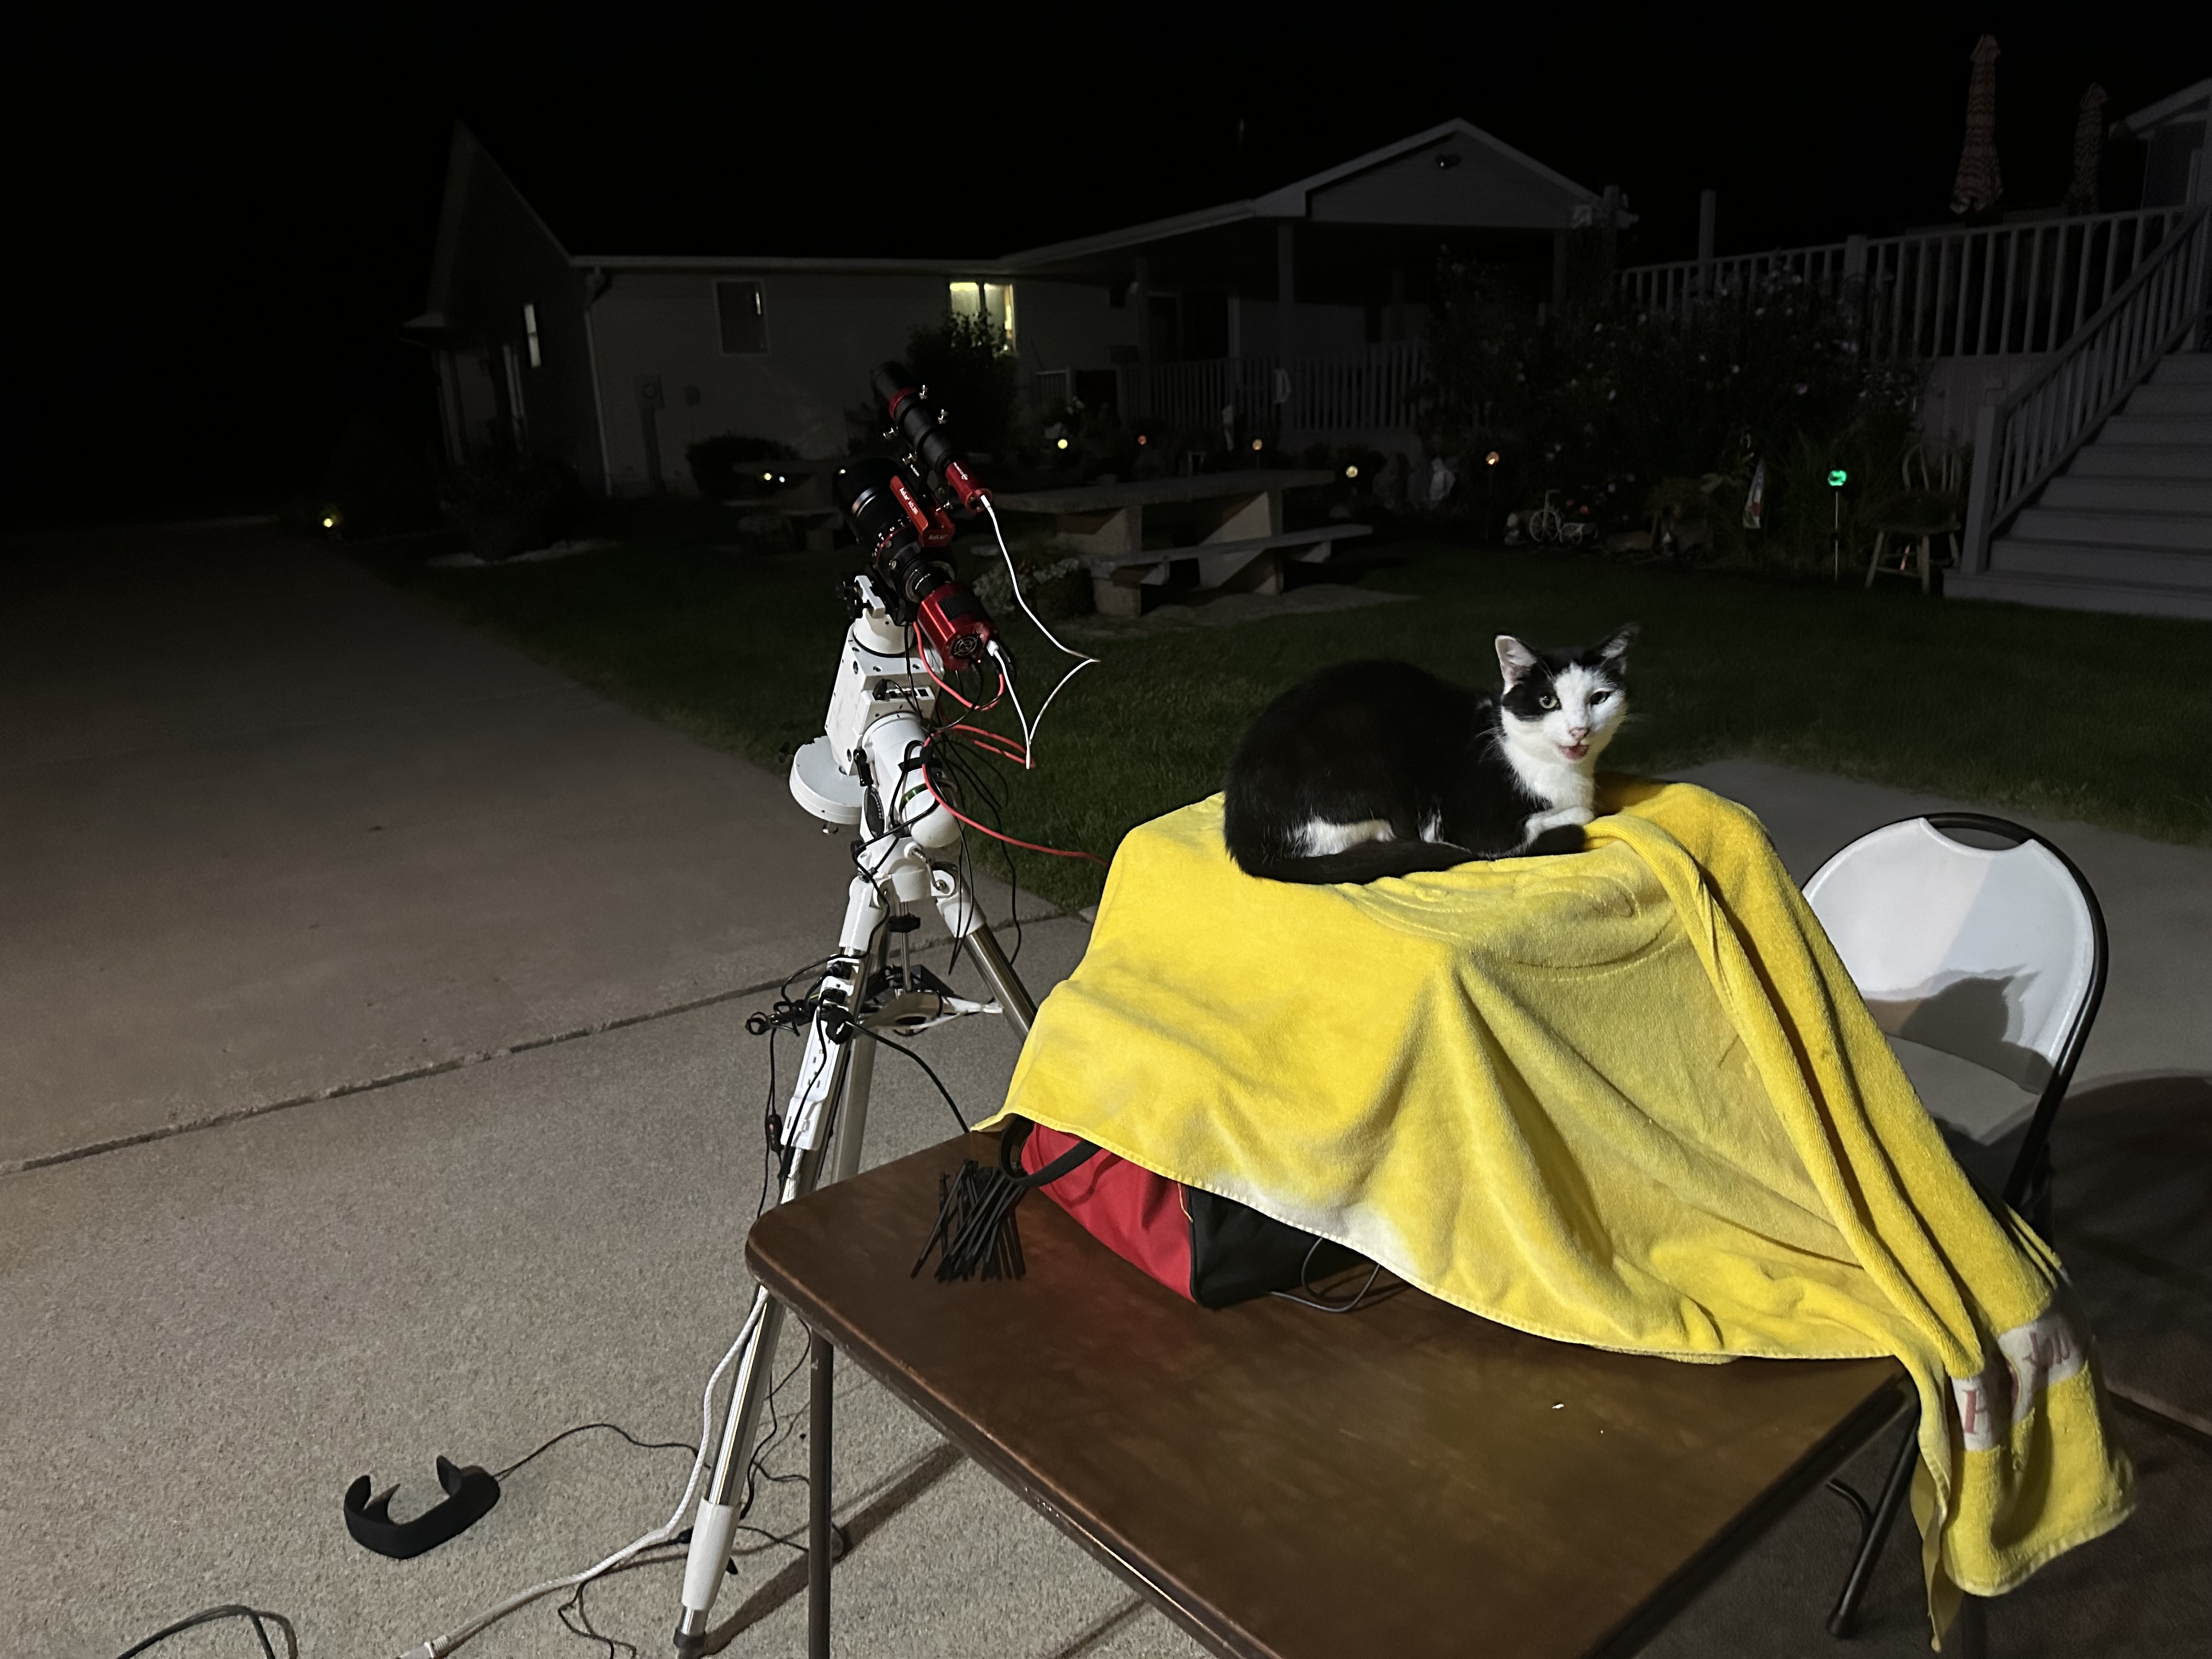
My setup when I still had a basic star tracker
A star tracker or mount is a device that counteracts the rotation of the Earth. You attach your camera to the star tracker and align the star tracker with the rotational axis of the Earth, which is called polar alignment. Once the tracker is polar aligned, you just turn it on and it counteracts the rotation of the Earth. Throughout the night, the star tracker very slowly moves and keeps your camera aligned on the exact same spot in the night sky. This allows you to take long exposure photographs without star trailing, preserving the signal we are trying to capture and greatly increasing the total possible exposure time.
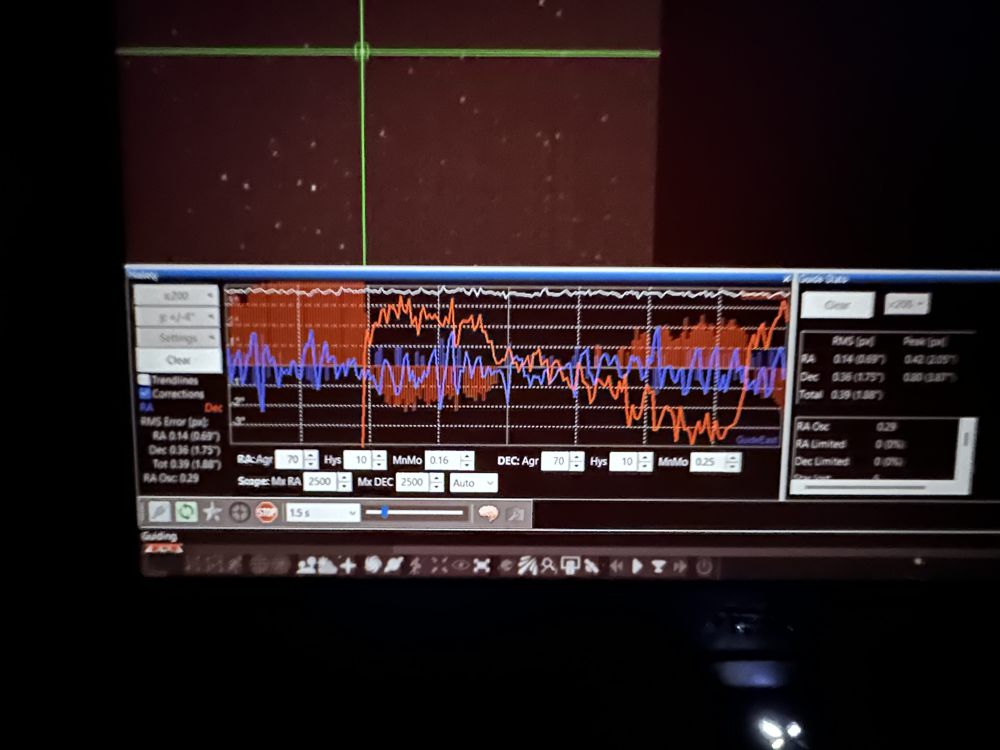
Guiding and Focusing
One of the ways astrophotographers achieve longer exposure time is through guiding. You will see not one but two cameras on most advanced AP setups, and this is because one camera is gathering data and the other is sending commands in near real time to the tracking mount to keep it positioned correctly in the sky.
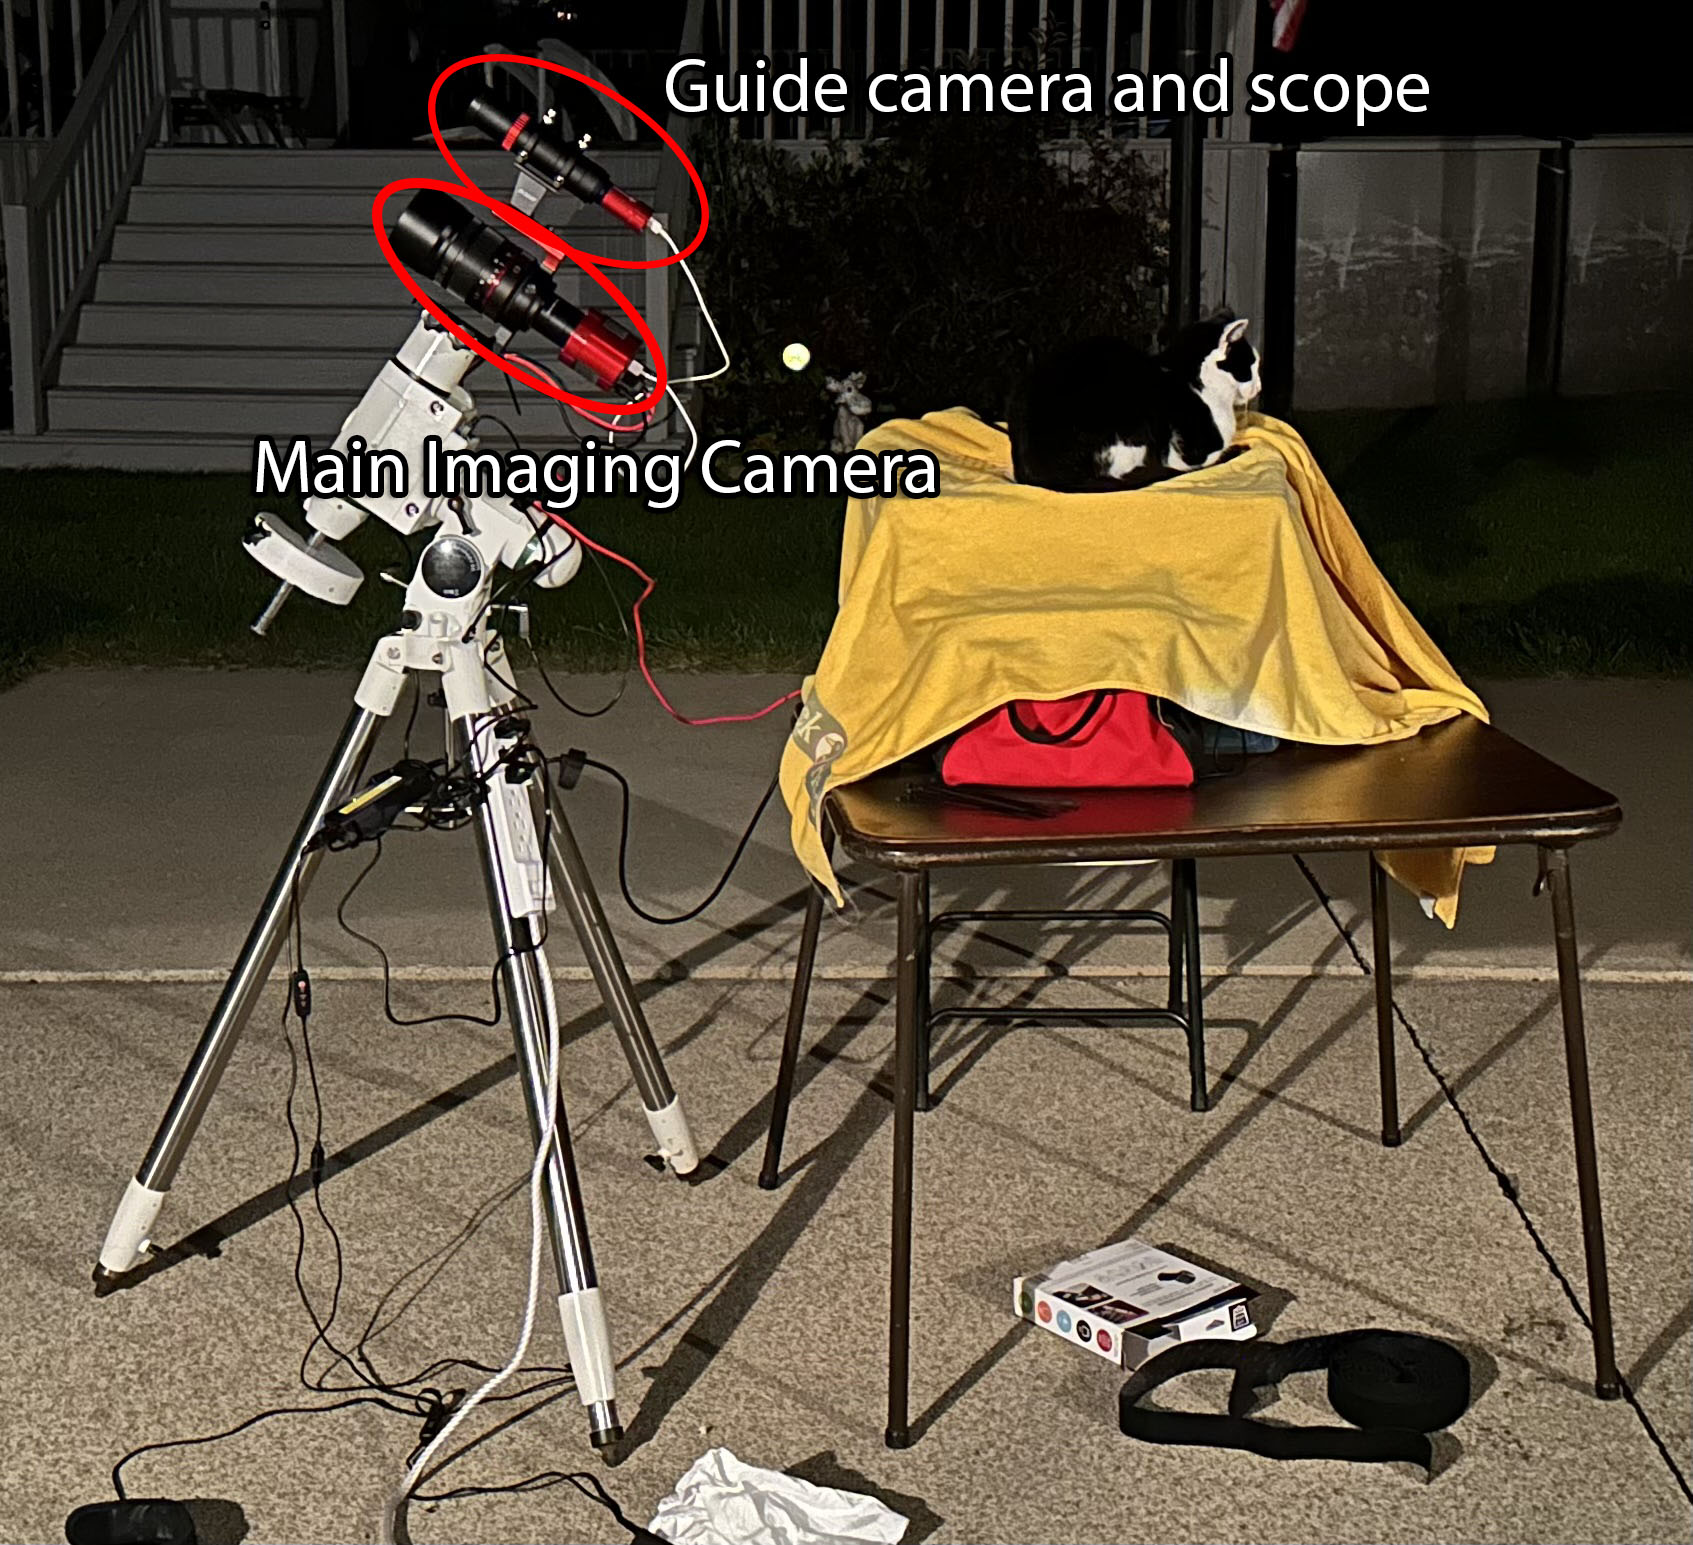
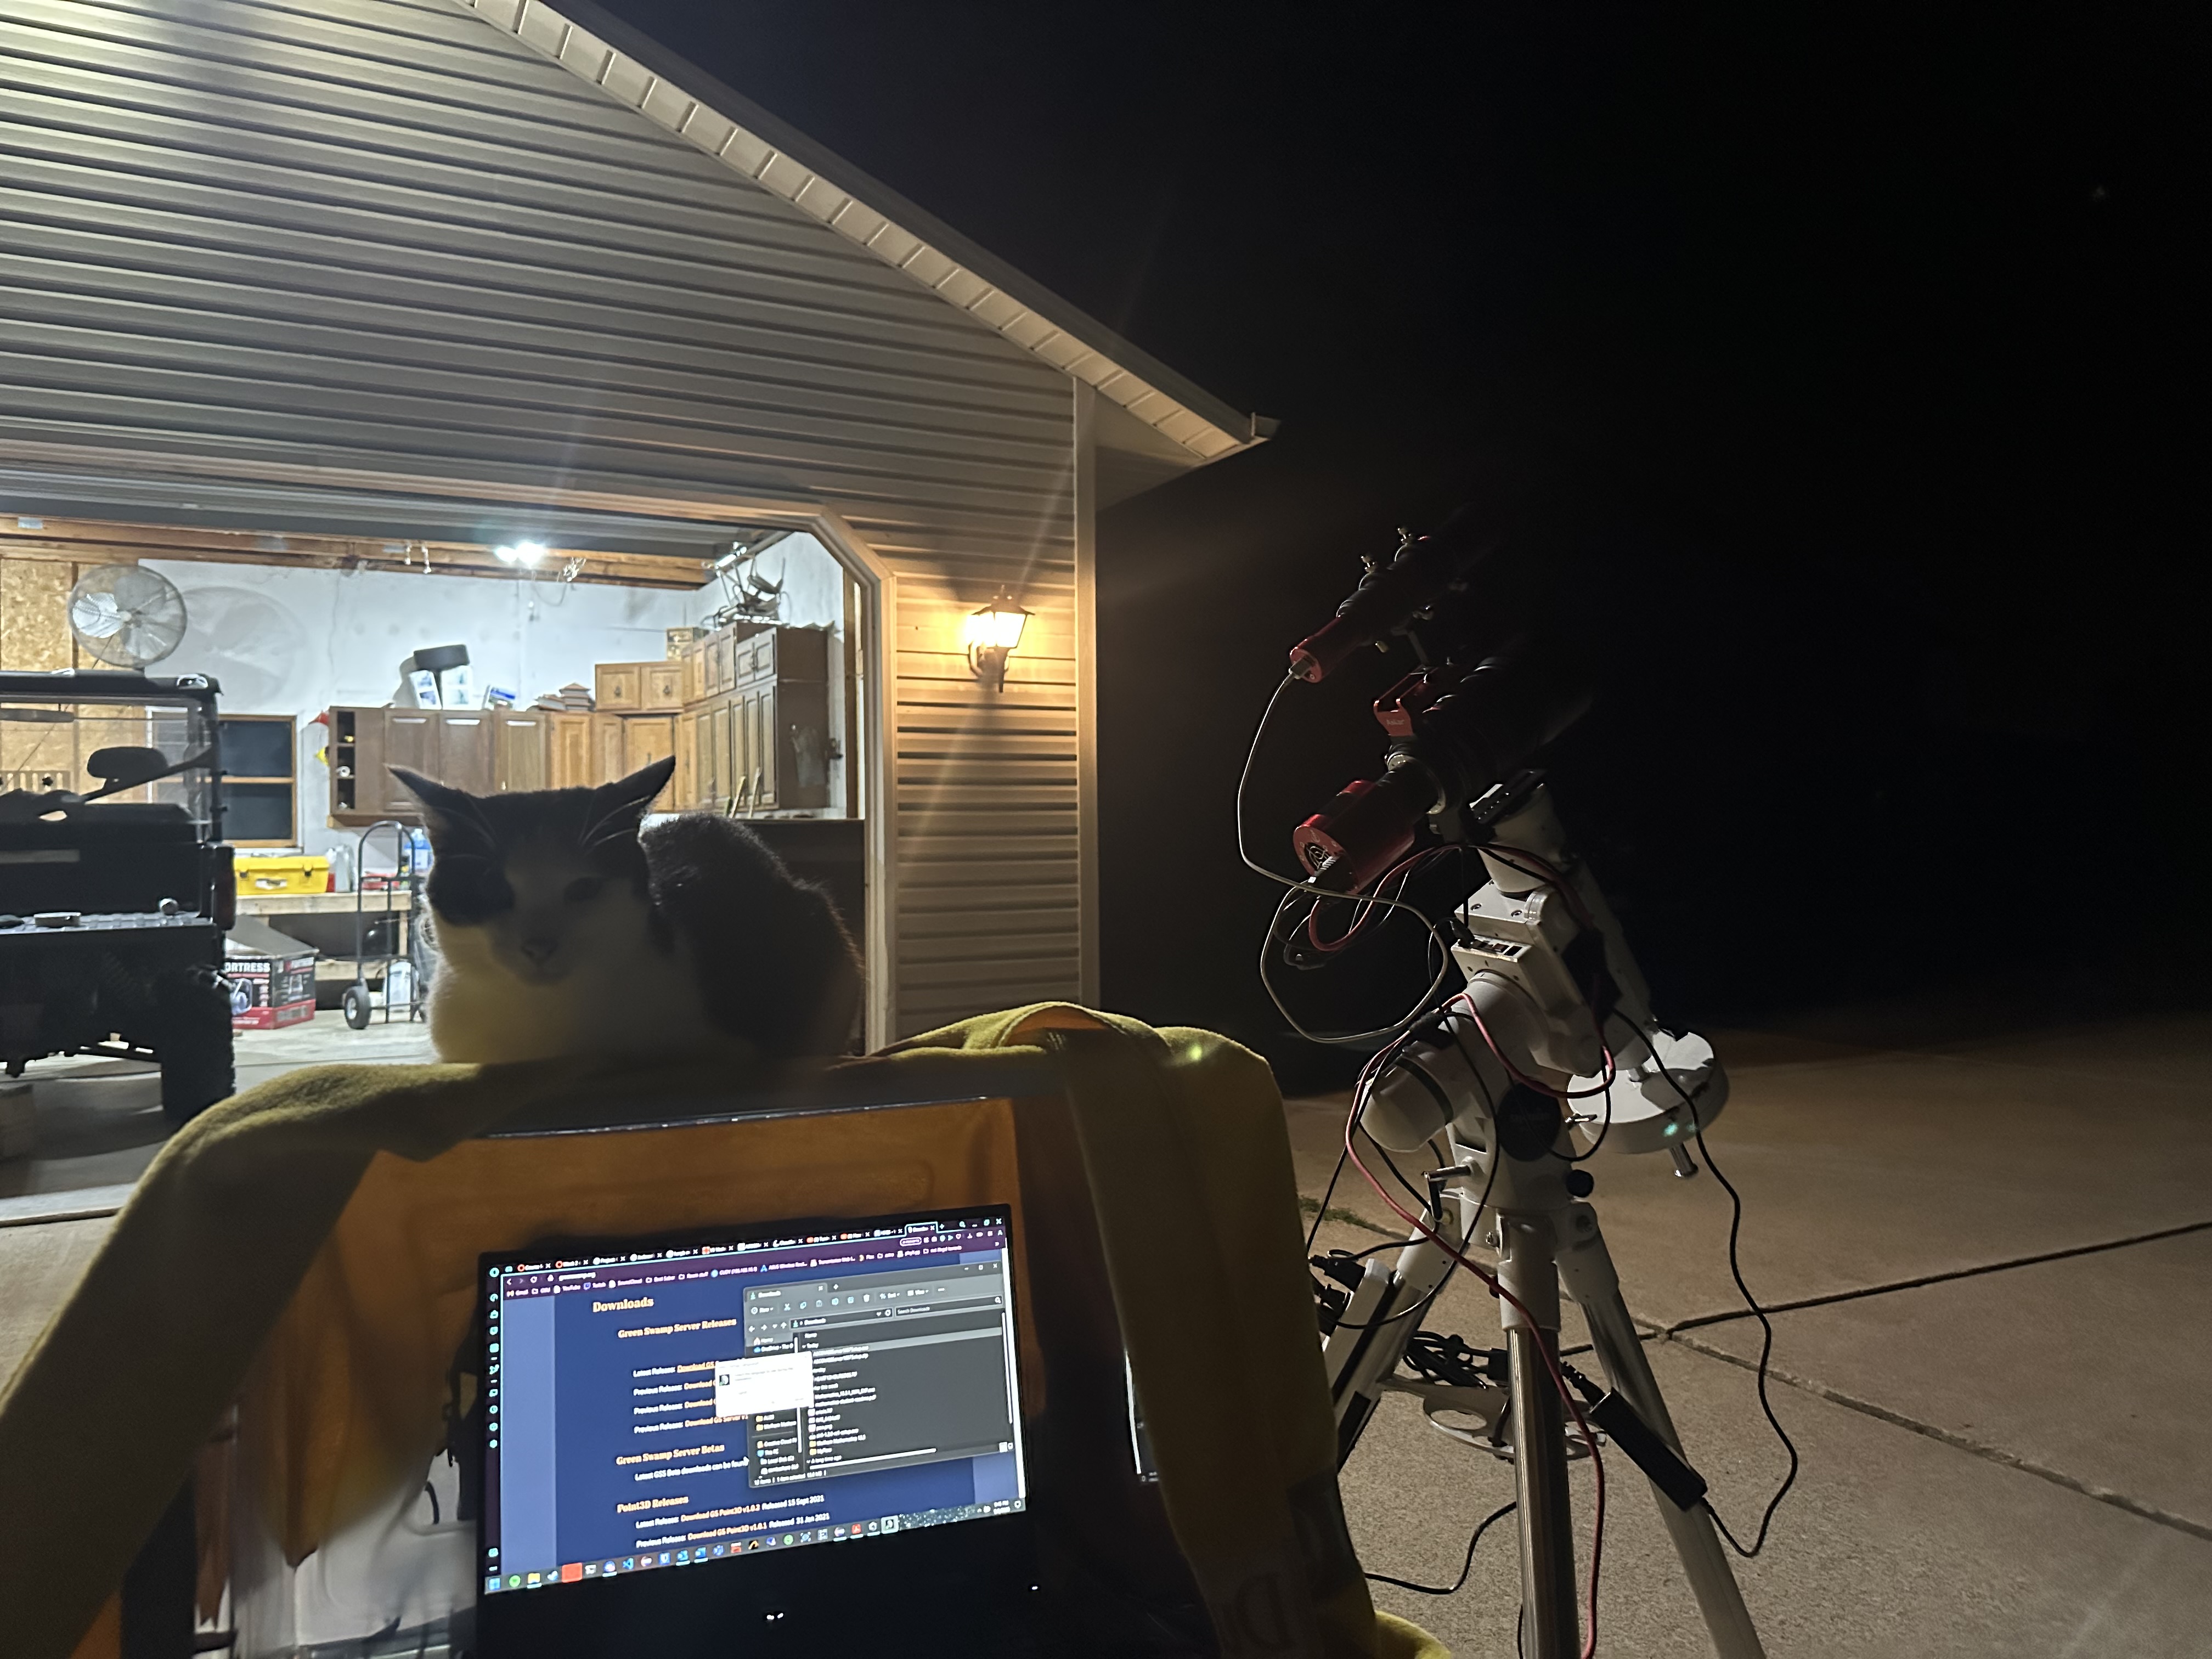
My current setup with my cat Noah in his favorite place to sit when I'm out
The way this works is by having a guide camera, which is usually a very basic monochrome camera, attached to a secondary smaller telescope that looks at the position of the stars and analyzes how they move. Since the guide camera isn’t collecting any data, it doesn’t need to have long exposures at all. Exposures from the guide camera are typically 1-5 seconds long. Each frame taken by the guider is analyzed by a computer program where it calculates the near exact position of the stars in the image and compares it to the previous images taken. It then sends commands to the tracking mount with the micro adjustments it needs to make to keep the target perfectly centered. When all is going well, it is normal to achieve sub-arcsecond guiding (under 1/3600th of a degree of accuracy!). Precision is everything with astrophotography, and guiding allows the tracking mount to be nearly perfectly precise. Another thing that’s important to get precisely right is the focus of the camera. Many advanced setups use electronic autofocusers that have stepper motors that can get extremely precise control of the focus of your imaging system. It will take a small exposure, analyze how fat the stars are in the image, and ever so slight adjust the focus until the stars are as small as they possibly can be. EAFs are also great because the focus point of the imaging system can shift as the temperature changes throughout the night. Many advanced setups have EAFs with temperature sensors that automatically refocus whenever the temperature has changed enough to make a meaningful difference. As of right now, I have not invested in an EAF yet, so I use a tool called a bahtinov mask to achieve focus.

Some of the bahtinov masks I've 3D printed
A bahtinov mask is an object that creates diffraction patterns of the light that goes through it. Bright, point sources of light (such as stars) have 6 spikes coming off of them due to the diffraction pattern. To achieve perfect focus, you just have to line up the spikes perfectly in the camera, then you can take the bahtinov mask off and you are ready to go. Without an EAF, it is smart to either use computer software to analyze how the focus shifts during the night or double check with the bahtinov mask a couple times during the night to make sure you stay in perfect focus.
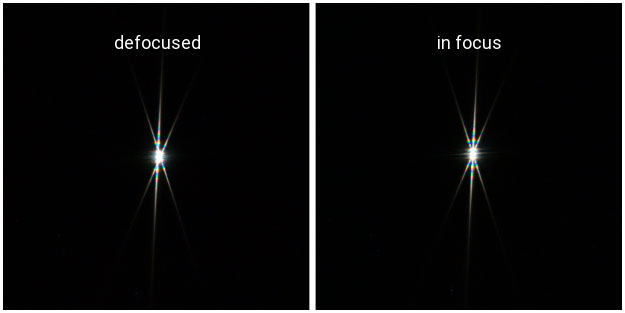
A bahtinov mask in use on a bright star
Stacking and Calibration Frames
Well, now we have the data. How do we make the final image? I already mentioned the first step, stacking. Let’s go a little more in depth on that. To get a good stacked image, you need calibration frames alongside the frames that you capture during the night. In daytime photography, there is so much light that is hitting the camera sensor that most sources of noise in the camera sensor are kind of irrelevant. There is enough light hitting the camera sensor that these sources of noise become negligible. This is not the case in astrophotography because so little light is hitting the camera sensor. To get rid of this excess noise, we use calibration frames in the stacking process. The calibration frames that are typically used are dark frames, bias frames, and flat frames. Light frames are the actual pictures of the night sky that contain all the data we are trying to extract. Dark and bias frames are both taken with the lens cap on the camera and are used to measure the amount of noise the camera sensor generates when taking a photo. Dark frames measure the dark current that is generated while the camera is taking the exposure and have the same exposure length as the light frames. Bias frames record the read noise of the camera sensor and are typically the shortest possible exposure time of the camera you are using. Flat frames don’t measure noise, but measure the optical imperfections of the imaging system. To take flat frames, you need to have an even illumination across the camera sensor. I usually do this by placing an LED panel on top of my camera lens, but some people prefer to wait until daytime and point their imaging system at a nice blue spot in the sky. Either way you take your flats, they record the position of dust particles and the vignette of your imaging system.
A single dark frame and flat frame
Without flat frames, any dust particles that were accumulated throughout the night would be visible in the final image and there would be horrible gradients across the whole image. The stacking program takes all of these frames, light, dark, bias, and flats and creates a calibrated image that (theoretically) just contains the signal we are looking for.
Processing
The final image doesn’t just come straight out of the stacking software, however. After the image is calibrated and stacked, it must be processed. Processing is a very in-depth process, and there is no single way to do it. There are an array of different programs and tools that people use to create their astrophotos, but I mainly use a program called PixInsight. It is purpose-built for astrophotography and has some incredible tools to make the final image that much better. I will go over just the major steps that I take in processing my images. When the image comes out of the stacking software, it is in what we call a “linear state.” The data is unstretched and exists only in the darkest parts of the image, so in this stage the image still looks mostly black with a few bright stars visible. A large portion of the processing workflow happens while the image is still in it’s linear state, so we apply autostretches to the image while we are working on it to see what we are doing. Autostretching is purely visual and doesn’t effect the image at all, but just applies a basic stretch to make it so our eyes can see what we are actually doing to the image while it’s still in a linear state.
Linear image and image with an autostretch applied to it. It's probably hard to make out the difference between the unstretched image and the background of the page!
Generally, the first step in processing an astrophotos is to do a background extraction. Background extraction works by looking at the sky background of your image and subtracting out any remaining vignetting and light pollution that exists in your image. There is normally lots of light pollution that is visible straight out of the stacking software, so this is one of the most important steps to get right.
An image straight out of the stacking process and an image with DynamicBackgroundExtraction applied in PixInsight
While the image is still in it’s linear state, I apply a deconvolution. Deconvolution is a very heavy topic, but the gist is that it is a deblurring algorithm. In your imaging system, there are sources of blur. Whether that be in the optical design of the elements of your lens or the atmospheric wobble that you have no control over, there will be additional blur you don’t want in the image. Deconvolution is a mathematical process that attempts to undo this blur and return the image to it’s intended, sharp state. I use an AI-assisted tool called BlurXTerminator that does most of the work for me. If you want to learn more about convolutions and their applications in other fields than astrophotography, I recommend watching this 3Blue1Brown video.

Cropped comparison of an image with no deconvolution done and with BlurXTerminator applied
Depending on the type of data you have, you may also want to apply a color calibration. PixInsight and other astrophotography specific software have processes that analyze the color of the stars in your image and change the color balance of the photo to match what the colors would look like in an ideal world. This is a very complex process that depends on having a database of millions of stars stored on your computer for the program to reference.

Image with no color calibration and an image with SpectrophotometricColorCalibration applied in PixInsight
Eventually, you’ll get to the point where you need to stretch your image to it’s non linear state. Before we do that, let’s make sure you understand exactly why we need to do this. Let’s consider a thought experiment. Consider yourself in a room with the lights turned off and a projector running showing an image on the wall. How can your eyes simultaneously see the bright image from the projector and the dark shadowy corner on the opposite side of the room? The difference in light level is a factor of millions! This is because your brain doesn’t just take the raw signal from your eyes, it takes that signal and applies a logarithmic function to it to make the information in the super bright parts of your vision still have detail while keeping the very weak signals from the dark part of your vision boosted up enough that you can still perceive them against the light part. You can think of an unstretched image like how our eyes would work if our brain didn’t apply this logarithmic function. All of the detail is there, it’s just hidden where our eyes can’t see it! When we stretch the image, we are taking all of the details in the super dark corner and bringing them forward into the light parts of the image where we can see them. There are many different ways to stretch an image, but they all are trying to achieve the same end goal: getting the signal (the object in space) in the light parts of the image while keeping the noise and space background in the dark parts of the image. Some people just use the autostretch function and apply that to the image, but I find that using other processes and doing it manually usually provides a better end result.
Two starless images in different stages of the stretching process
At some point in the processing workflow, it’s important to try some noise removal. Some people do noise removal while the image is still linear, some do it right after stretching, and some wait and do it as the last process in their workflow. There are many different tools to remove noise from your image, but I usually use an AI-assisted tool called NoiseXTerminator at some point in my processing workflow.
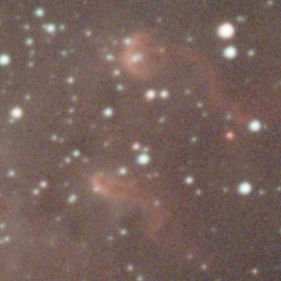
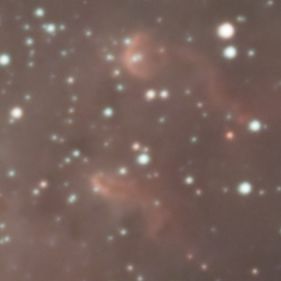
Image with no noise reduction applied and an image with NoiseXTerminator applied in PixInsight
Another topic I will touch on that is very important is star removal. Star removal isn’t strictly necessary, but it greatly aides in the making of the final image. The problem with having stars in our image is that they are incredibly bright when compared to the nebulosity we are trying to capture. When stretching an image with the stars still present, the stars will fill the field and make it a lot harder to completely stretch the nebulosity. So before I stretch I do a star removal to take the stars out of the image. After doing this, I process the stars image and the nebulosity image separately and recombine them at the end of the workflow. This allows you to create a much nicer looking image in the end that have reasonable looking stars and bright, beautiful nebulosity. The processes I use for star removal are StarXTerminator and StarNet.

A image with stars and a starless image made with StarXTerminator
Final Words and Acknowledgements
There is a significant amount of information I left out of this page to try and keep it (somewhat) reasonable for an average person to read and learn about astrophotography. If you have any questions or would like to learn more, you can reach out to me through my discord! I’d be happy to answer any questions. You may have also noticed that many of the processes I mentioned end with Xterminator, and these are the well known processes made by Russell Croman. This guy’s pretty much a legend in the astrophotography world and has created some of the most advanced processes that us astrophotographers use on a daily basis. I would also like to give a big thanks to other people who have made many of the processes and scripts that I use to make my images, including Adam Block, Bill Blanshan, Mike Cranfield and many others. Additionally, I never would have gotten so advanced in this hobby if it weren’t for the amazing people in the Observational Astronomy discord server. They are absolutely amazing and have given me invaluable advice on how to improve my images and grow in this hobby. Finally, I would have never have gotten into this hobby if it weren’t for the creators that I watched to get my foot in the door in this hobby. Astrophotography has an incredibly steep learning curve, and I definitely would not have learned so much as fast as I did if it weren’t for these people that make free and educational videos about AP on YouTube. They include Nico Carver at Nebula Photos, Trevor Jones at AstroBackyard, Cuiv at CuivTheLazyGeek, and many others. These guys are absolutely amazing and if you are at all interested in getting started in astrophotography, you should seriously go check them out. Nico Carver’s tutorials for beginners that go over every step from capturing with a DSLR to beginner processing carried me through the beginning of my AP journey and I would not be at the level I am today without them.
This little guy really does follow me around every night I shoot. Not that I'm complaining, or anything
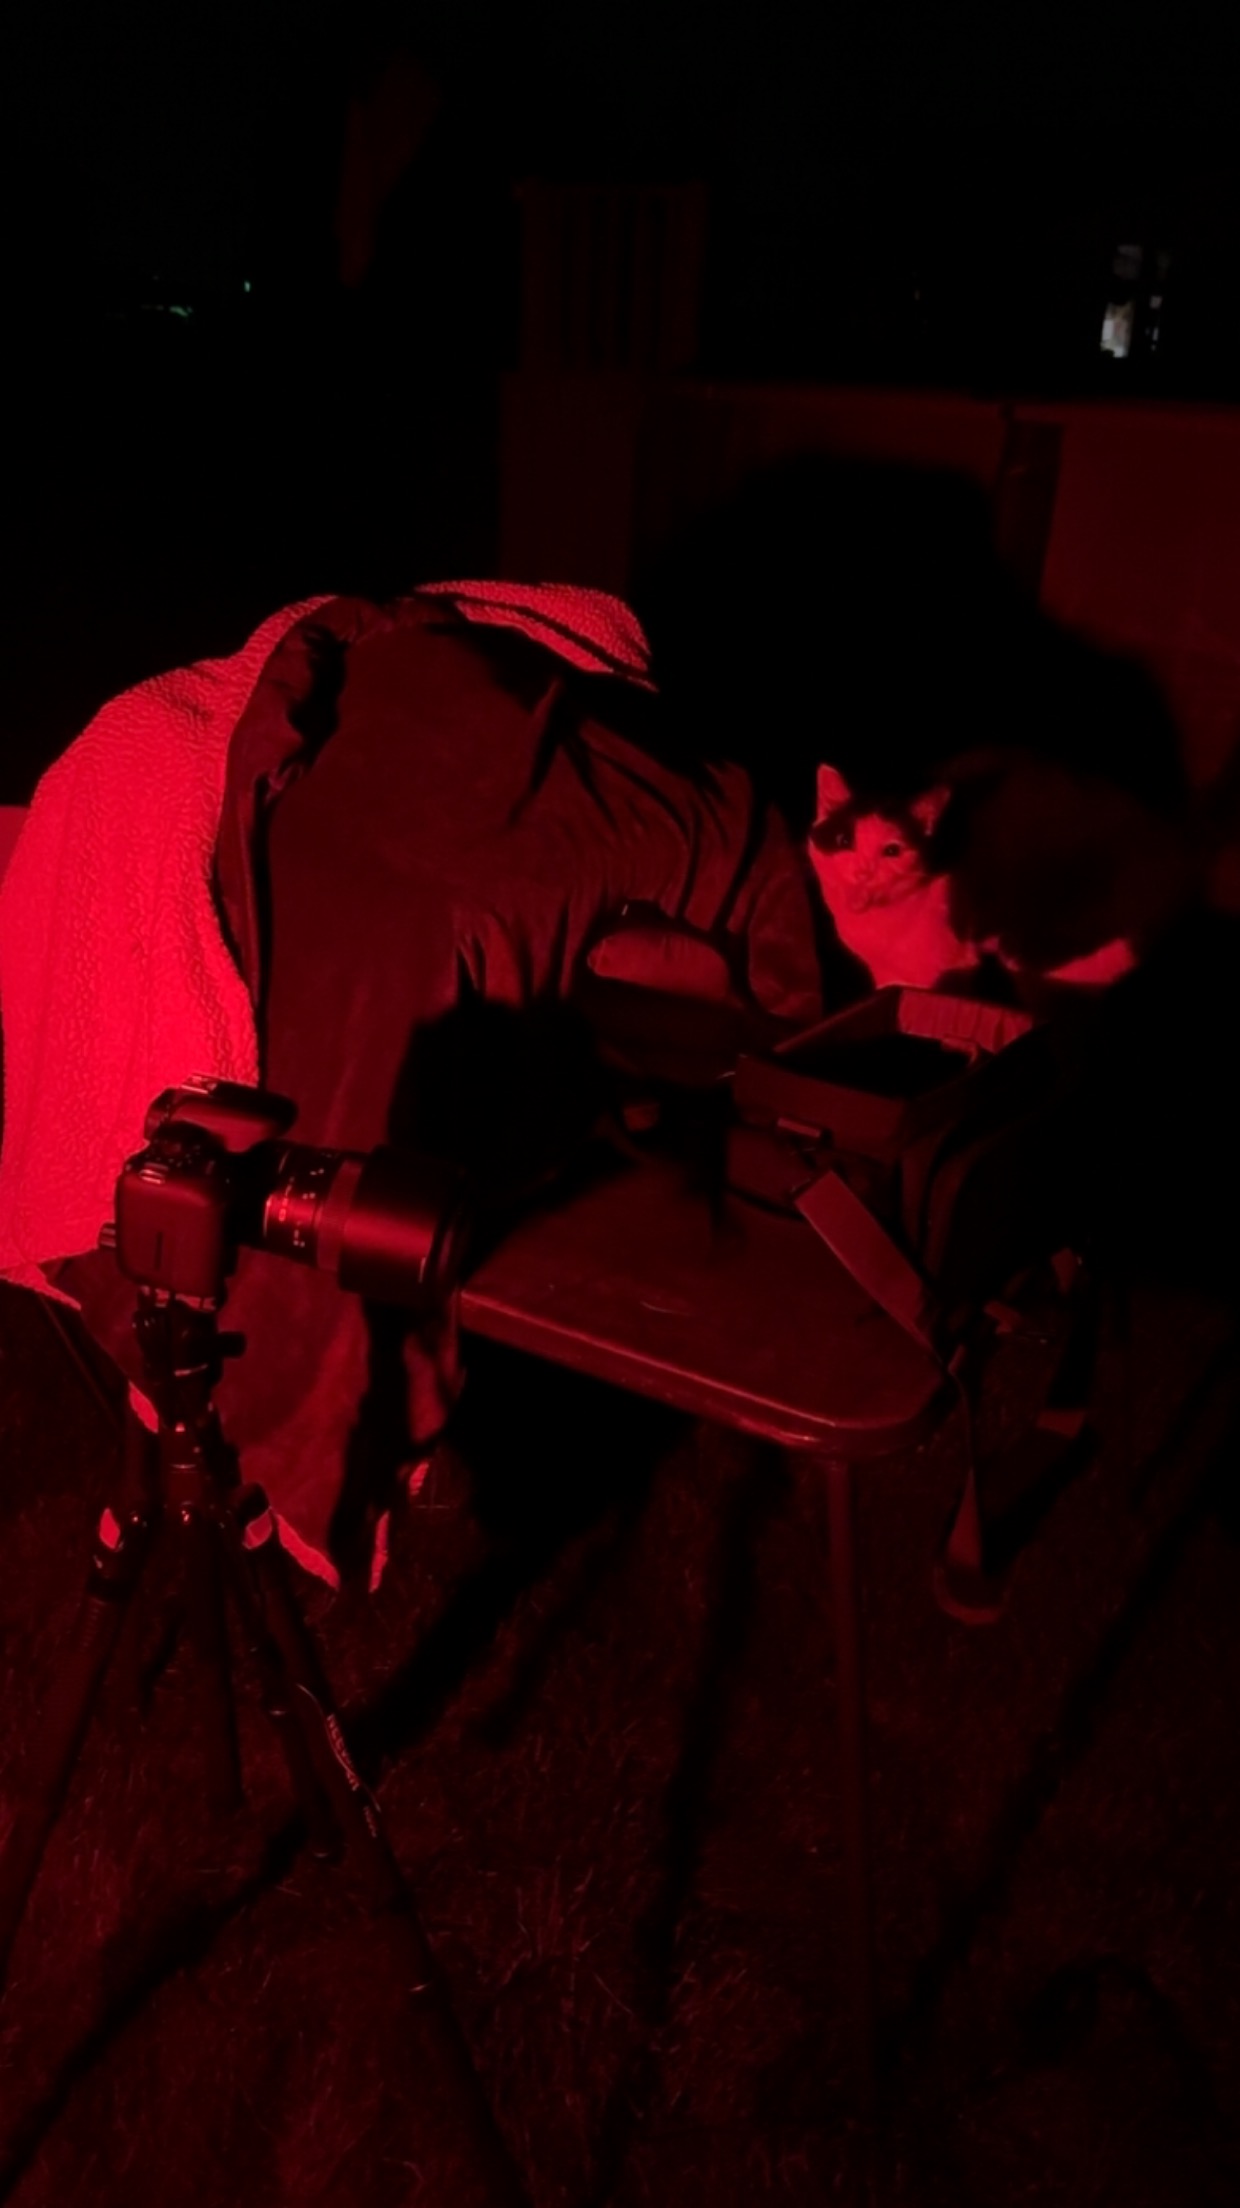
My setup on one of the first nights before I got a star tracker and me having a very bad time with guiding on one of the first nights I got a new mount